06 December, 2004
APEXi Power Intake Installation
The APEXi Power Intake is one of the more highly rated aftermarket air filter units for the MR2 Turbo. It offers high flow plus excellent filtration. That last item is sometimes missing in competitors' products.
Installation requires removal of the stock air filter and airbox, and is reasonably straightforward. The only problems center around the APEXi-supplied instructions. First, they are in Japanese. Second, they include some incorrect diagrams. Hopefully the photos I included here will clarify some of the assembly. All of the photos can be clicked on for a larger image view.
Finally, remember that this is only a guide -- not gospel. What you do to YOUR vehicle is YOUR responsibility. I do not endorse, approve, authorize, or otherwise encourage you to make alterations to your vehicle. Be careful, and recognize the dangers associated with modifications to your vehicle's critical systems, like electrical, engine, brakes, etc.
Please contact me if you have comments or suggestions about the article or the project, or if you find errors on these pages.
Tools
Needed
-
Flat-blade and Phillips screwdrivers
-
Pliers
-
10mm, 12mm and 13mm sockets and wrenches
-
Socket extensions in a variety of lengths
Doing It
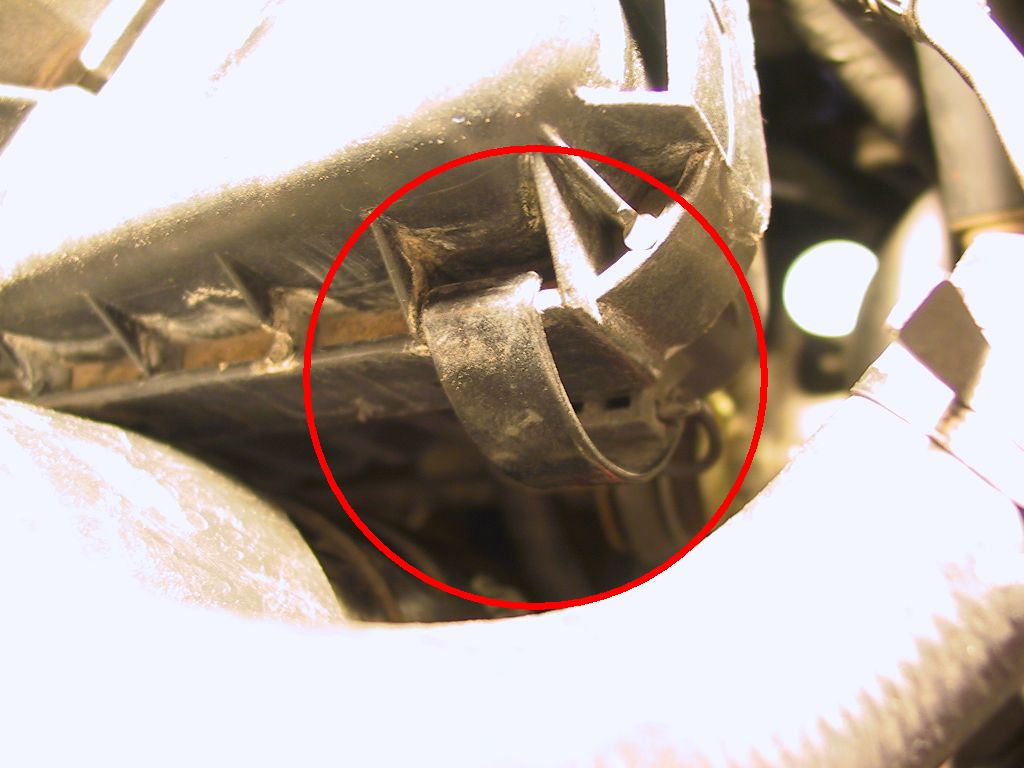
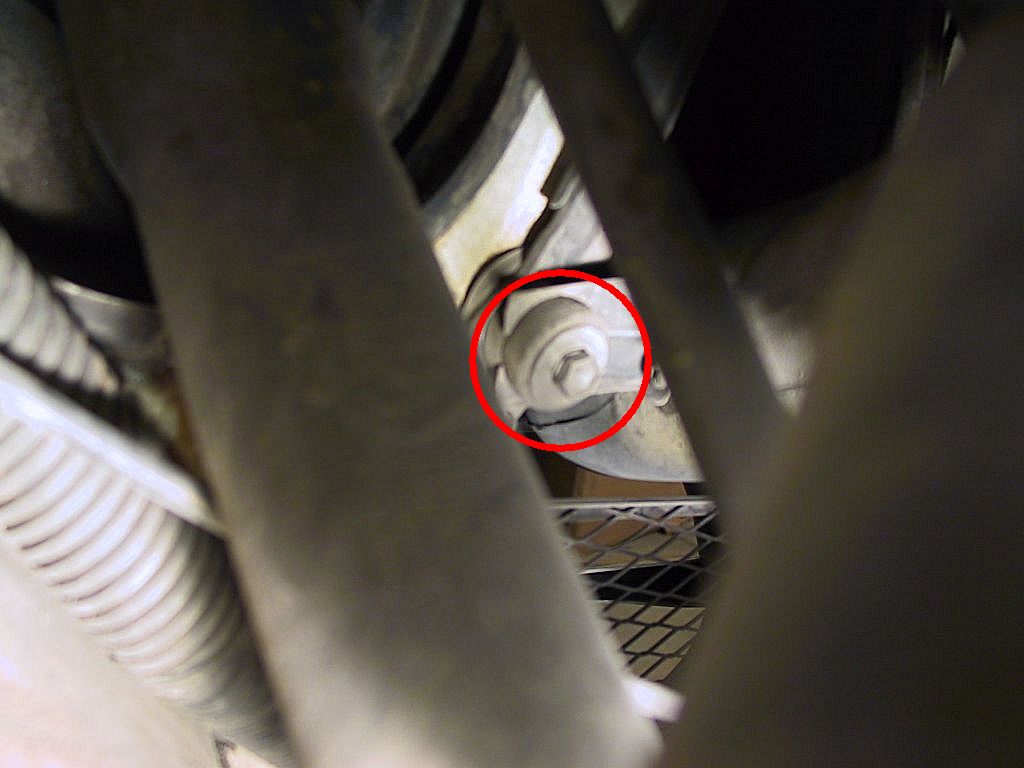
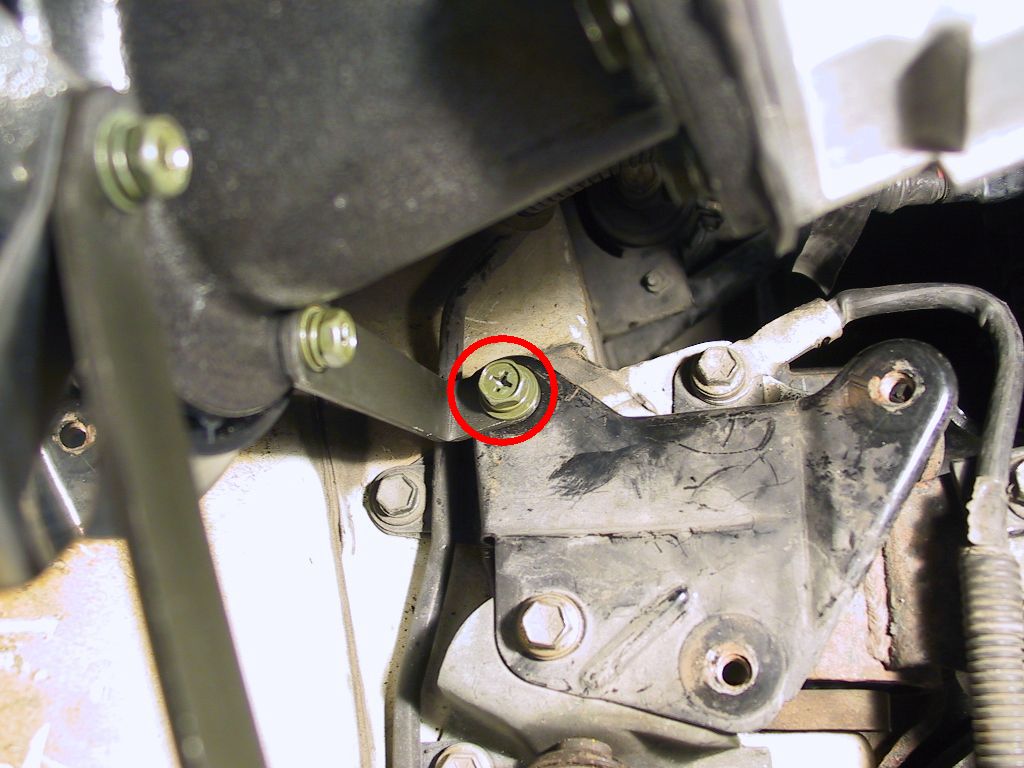
Open your engine lid and remove the left side trim
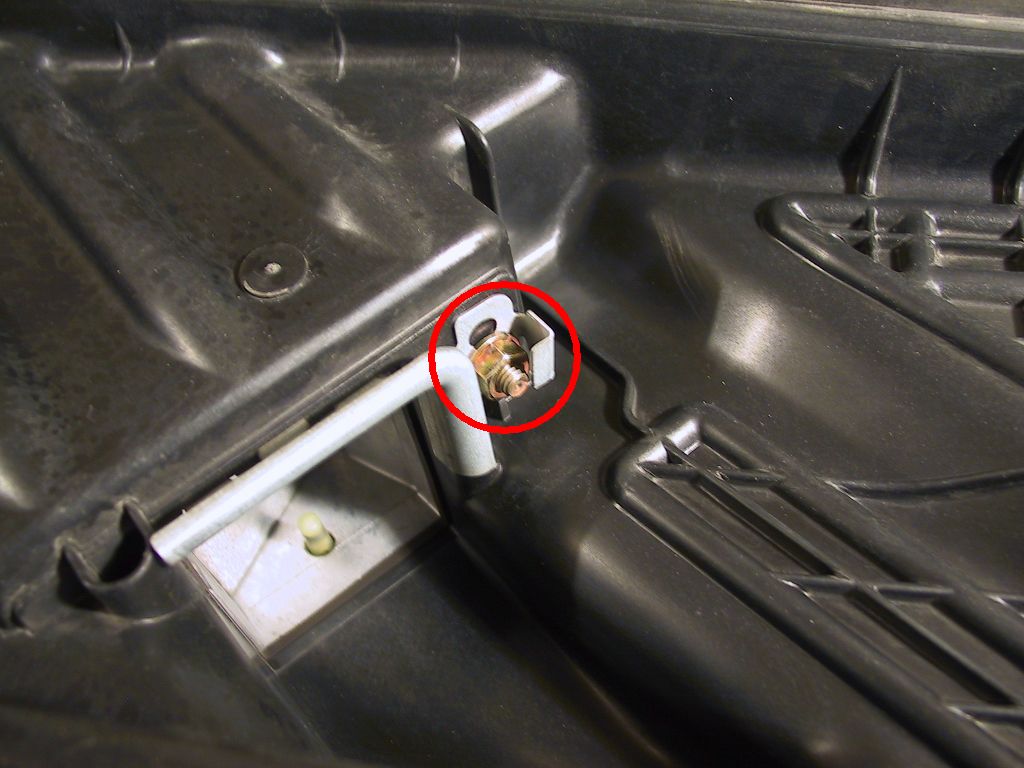
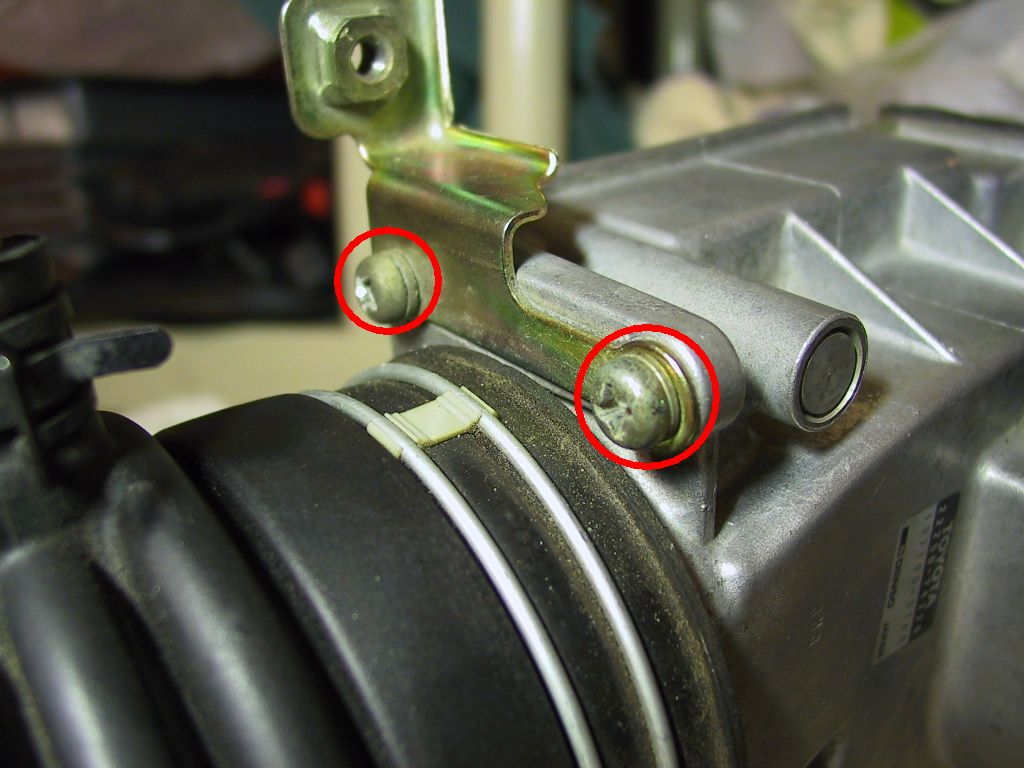
panel. Look down at the Air-Fuel Meter (AFM) assembly, and locate the
electrical connector, shown inside the red circle below:
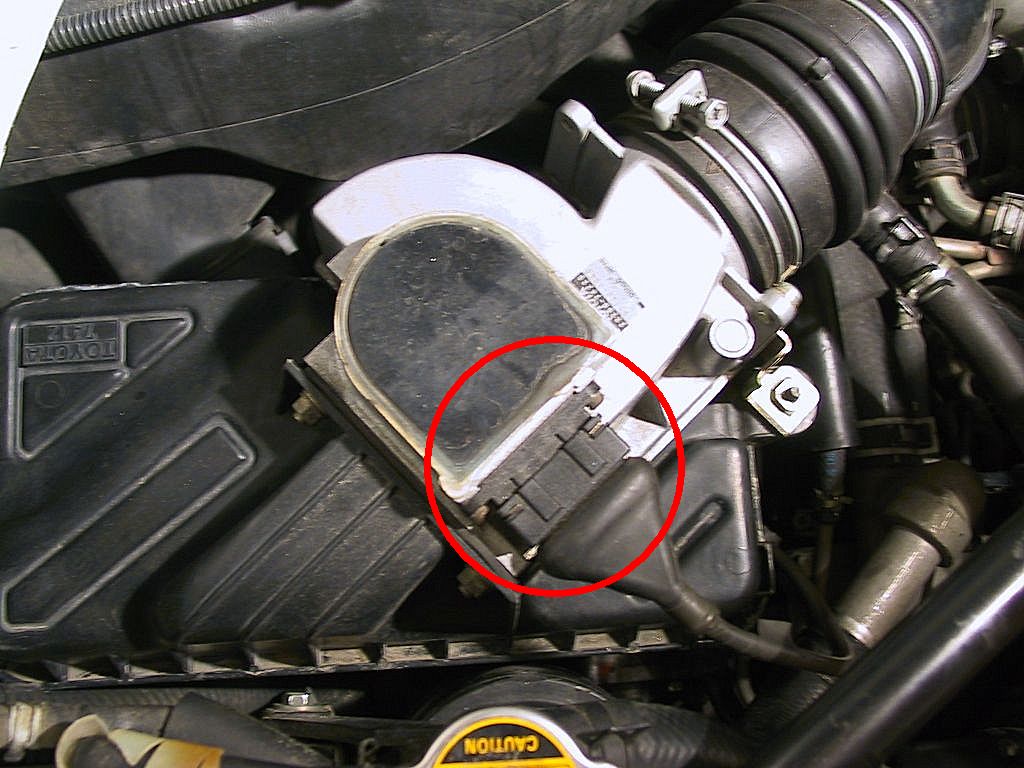
If you haven't been warned before, heed this warning now:
DO NOT REMOVE THE TWO SCREWS FASTENING THE CONNECTOR TO THE HOUSING!
To remove the connector, slip a small flat-bladed screwdriver under the
ends of the spring clip that encircles the plastic connector. It's only
necessary to lift it out of the side grooves a bit, then the connector
easily slips off:
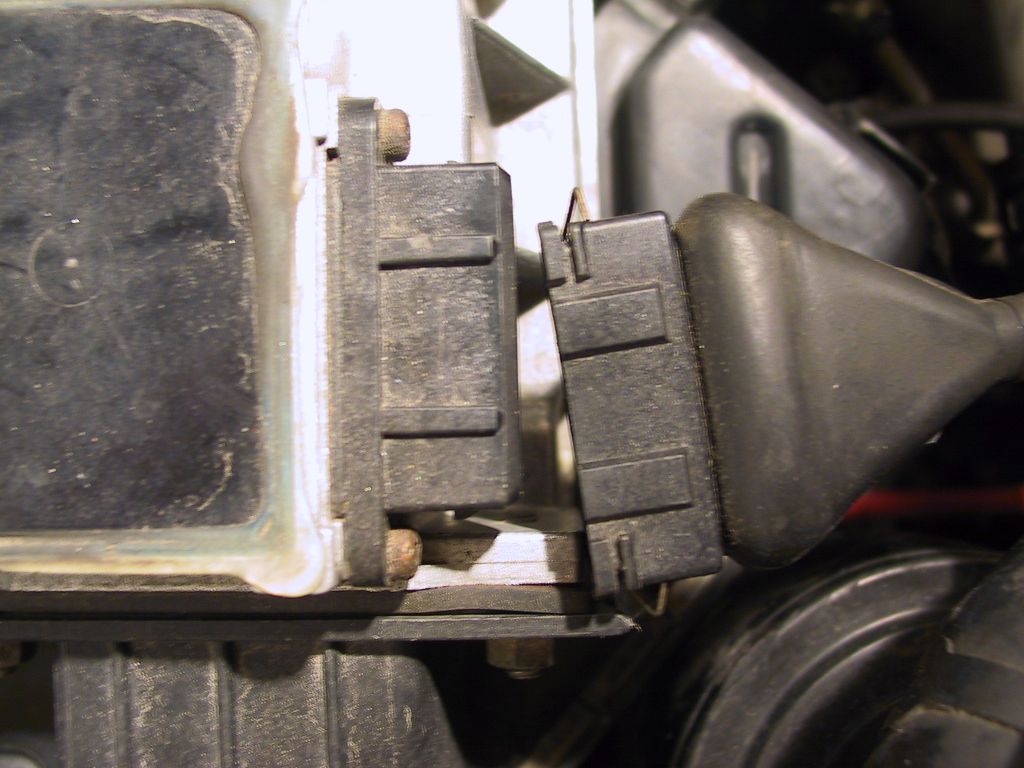
Move the connector out of harm's way for now.
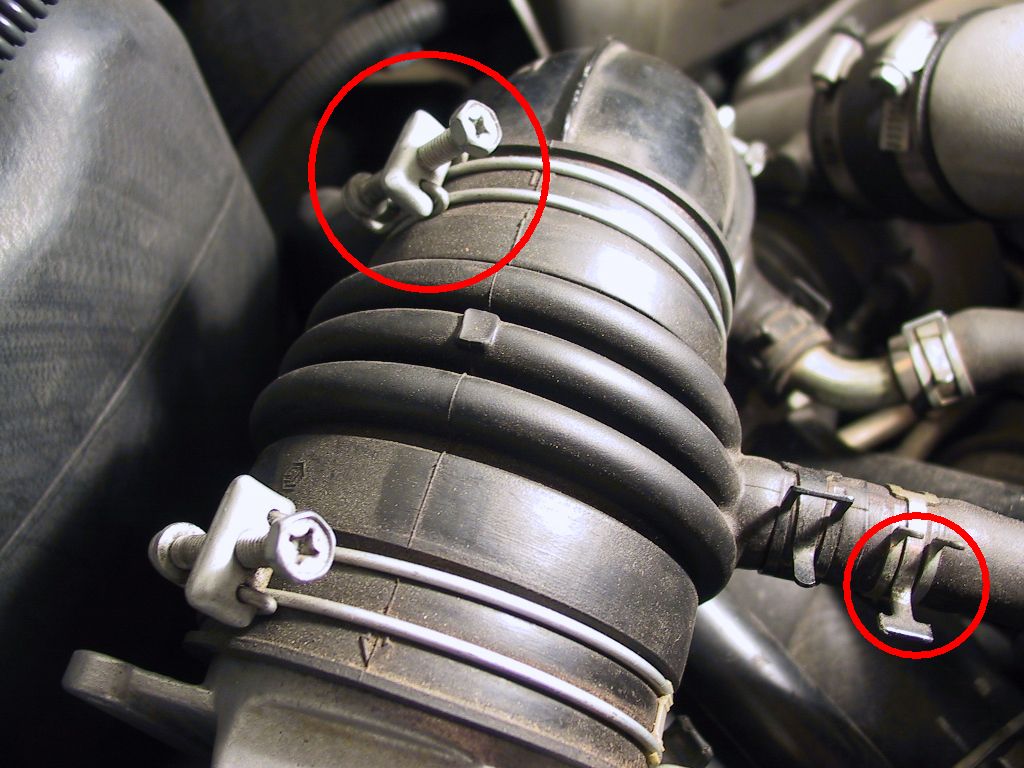
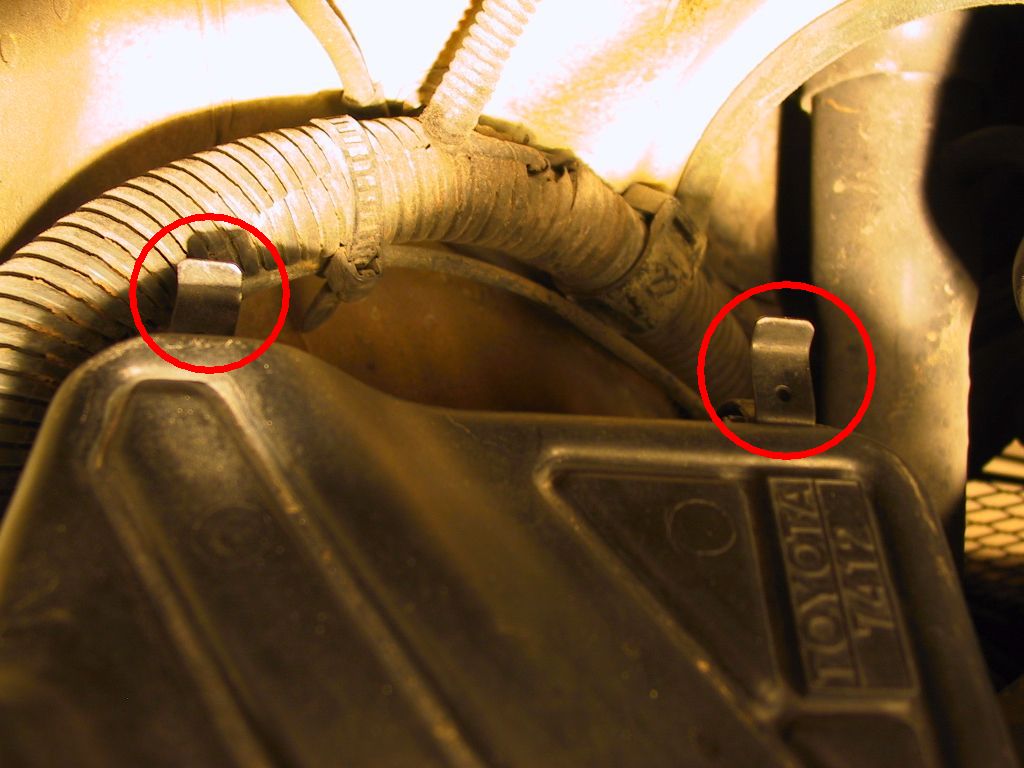
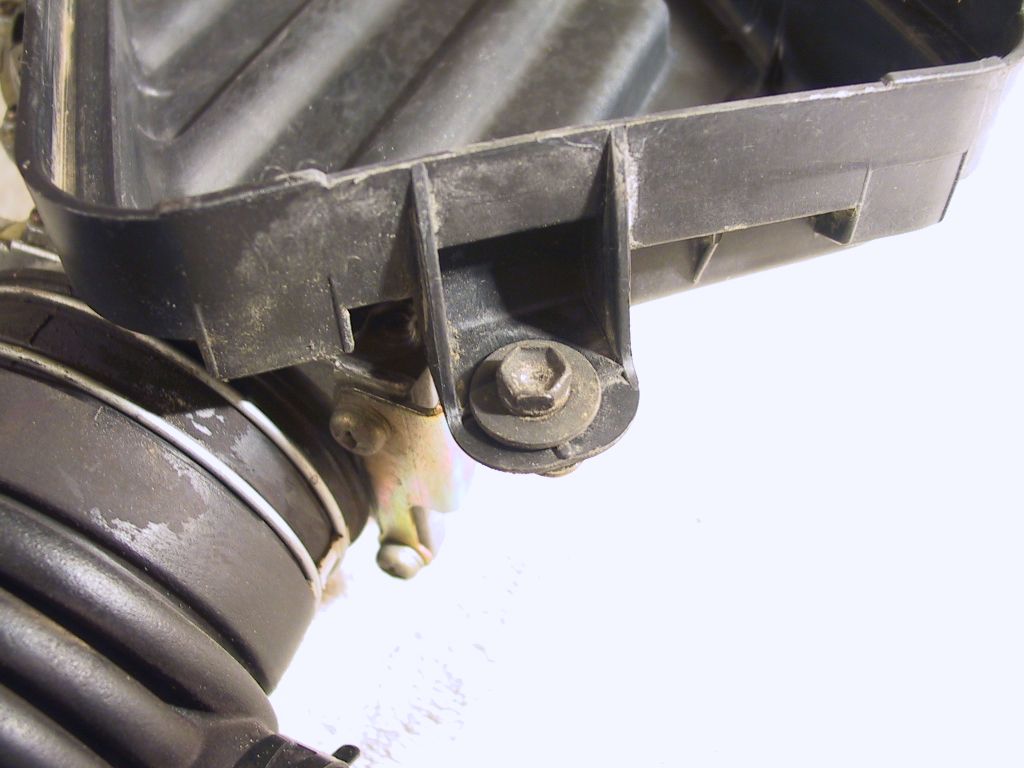
One on the right-rear corner:
And finally one on the right-forward corner:
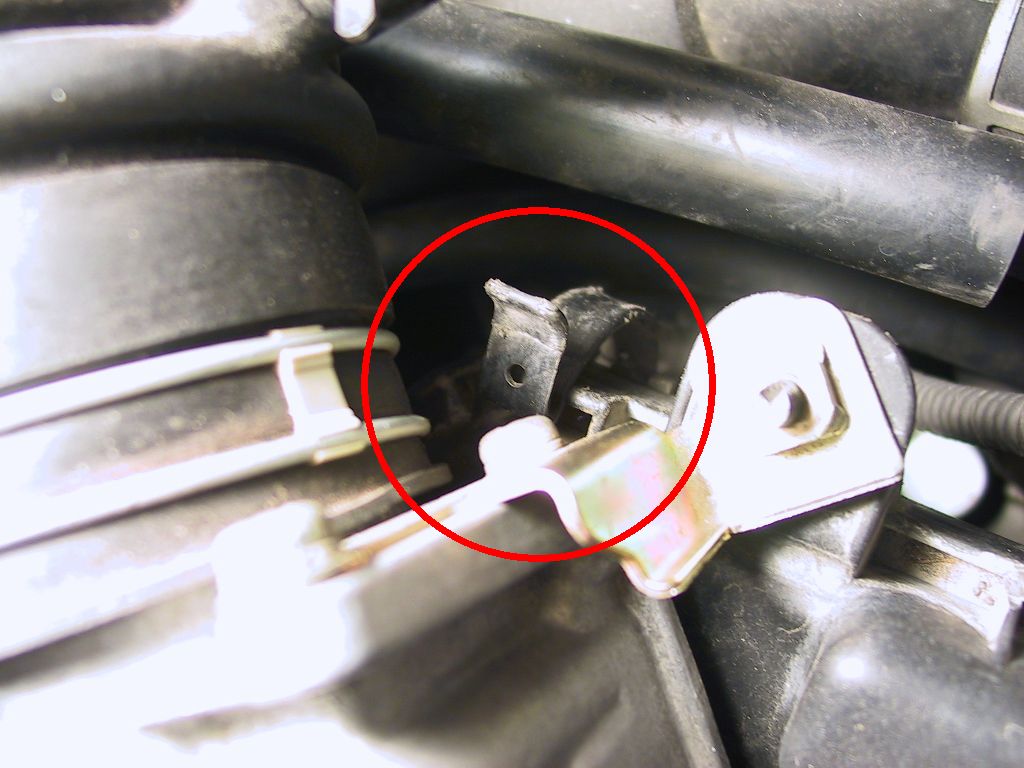
With these unsnapped, you can lift the top of the air filter housing out, twisting it to clear the body and easing the hoses off at the same time.
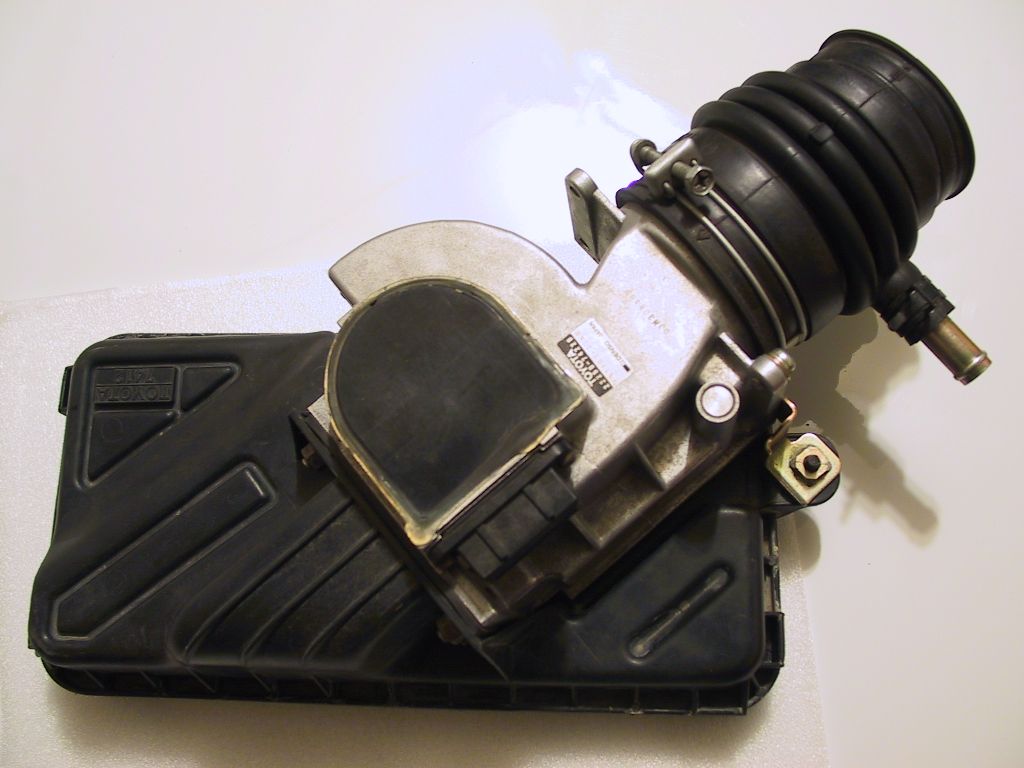
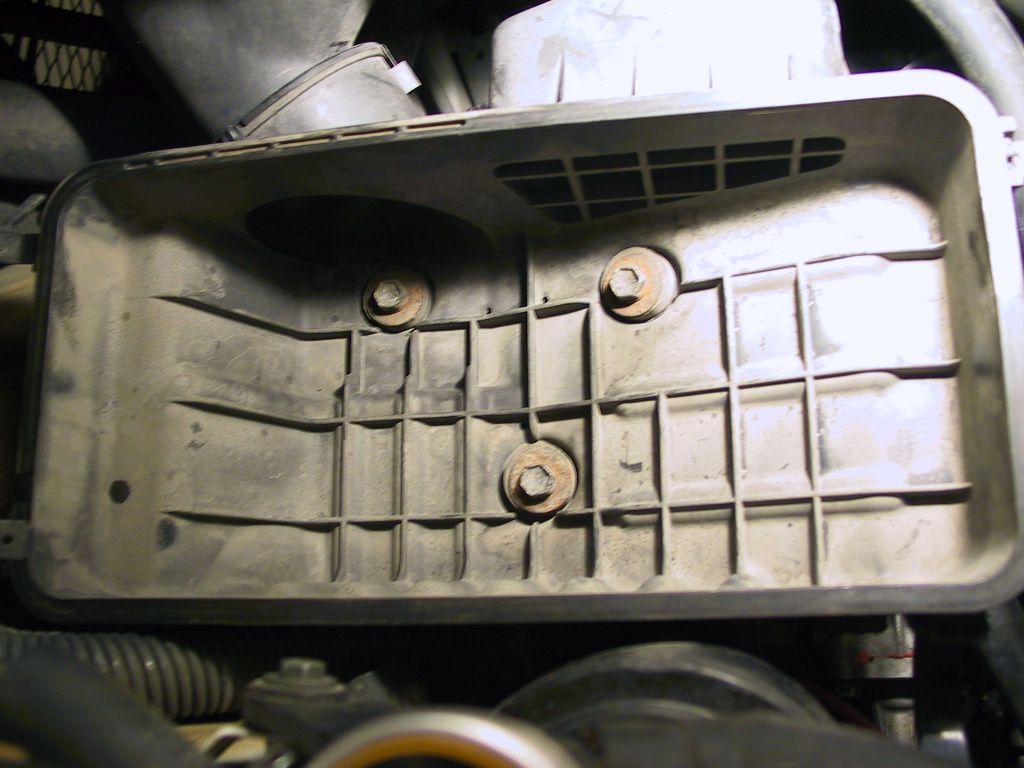
Once these have been removed, you can pull the housing out of the car, with a little twisting to separate it from the airbox assembly (plenum) that has not yet been removed.
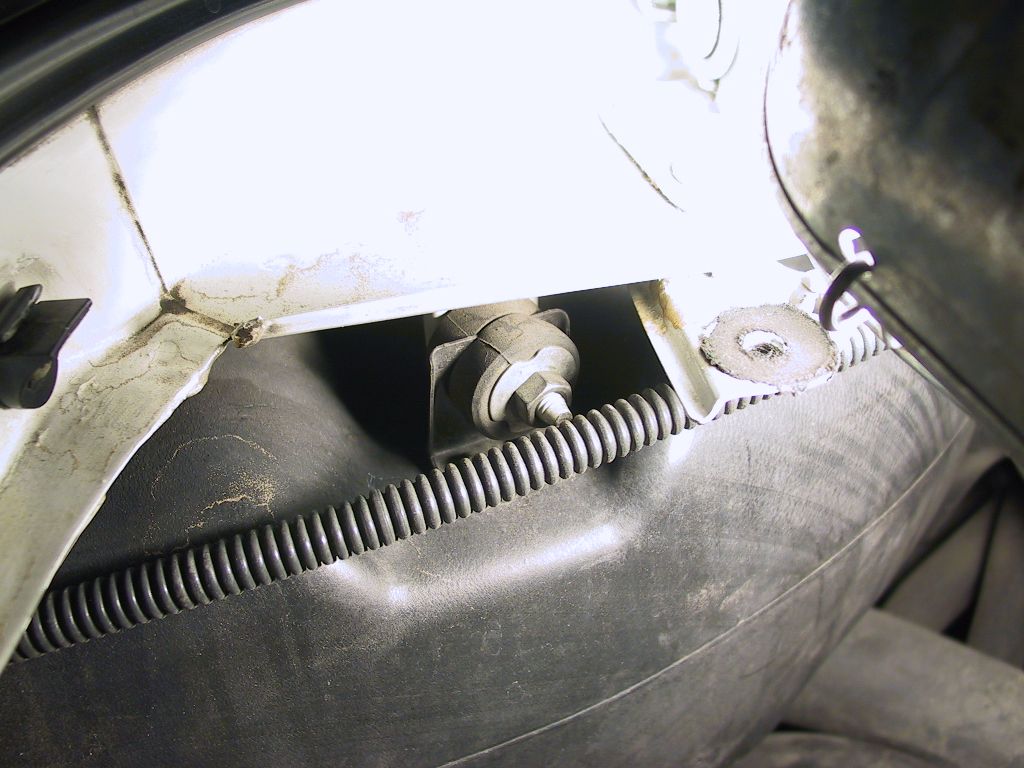
One bolt is located just inside the left hand air scoop.
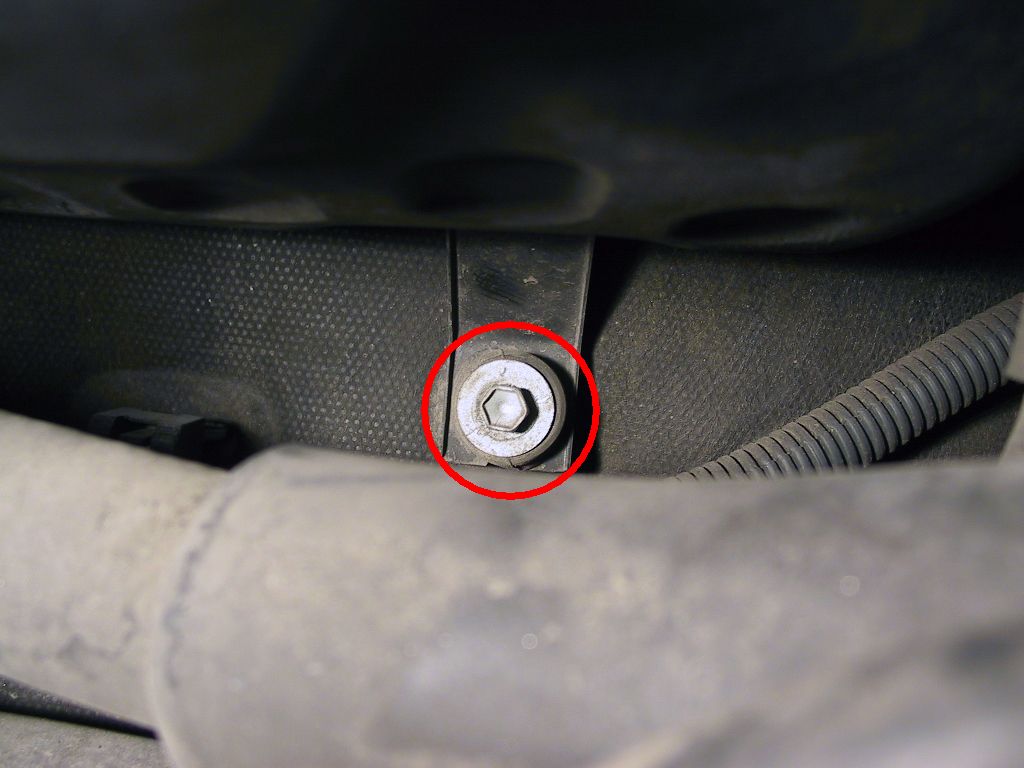
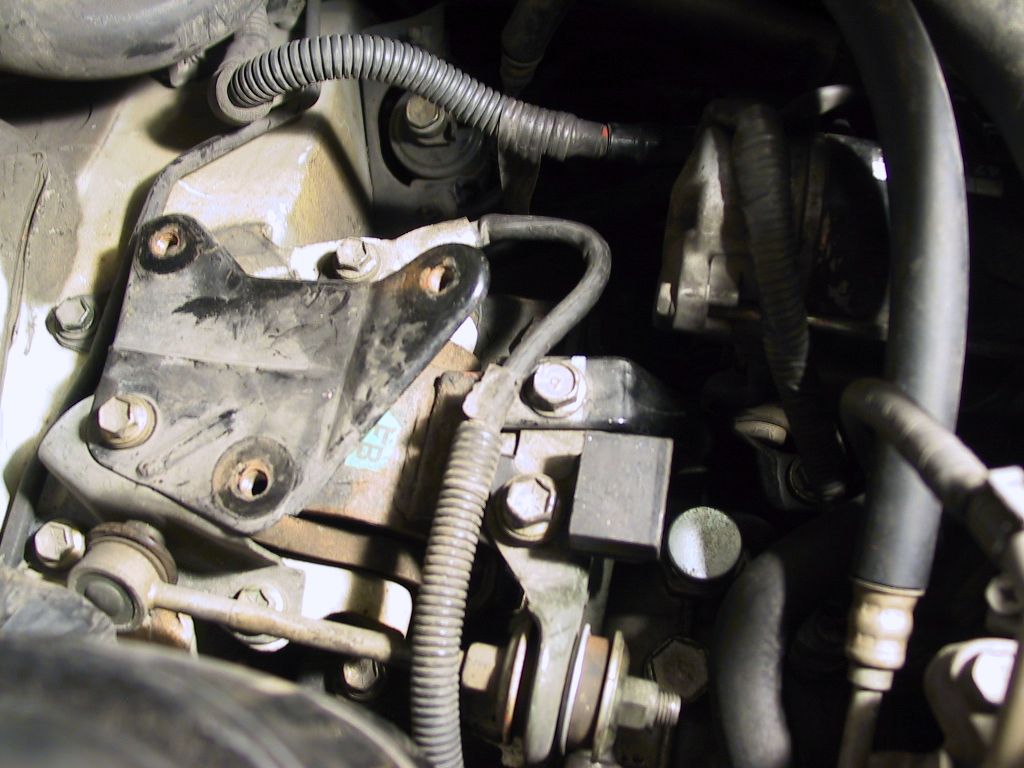
You can now remove the airbox from the car.
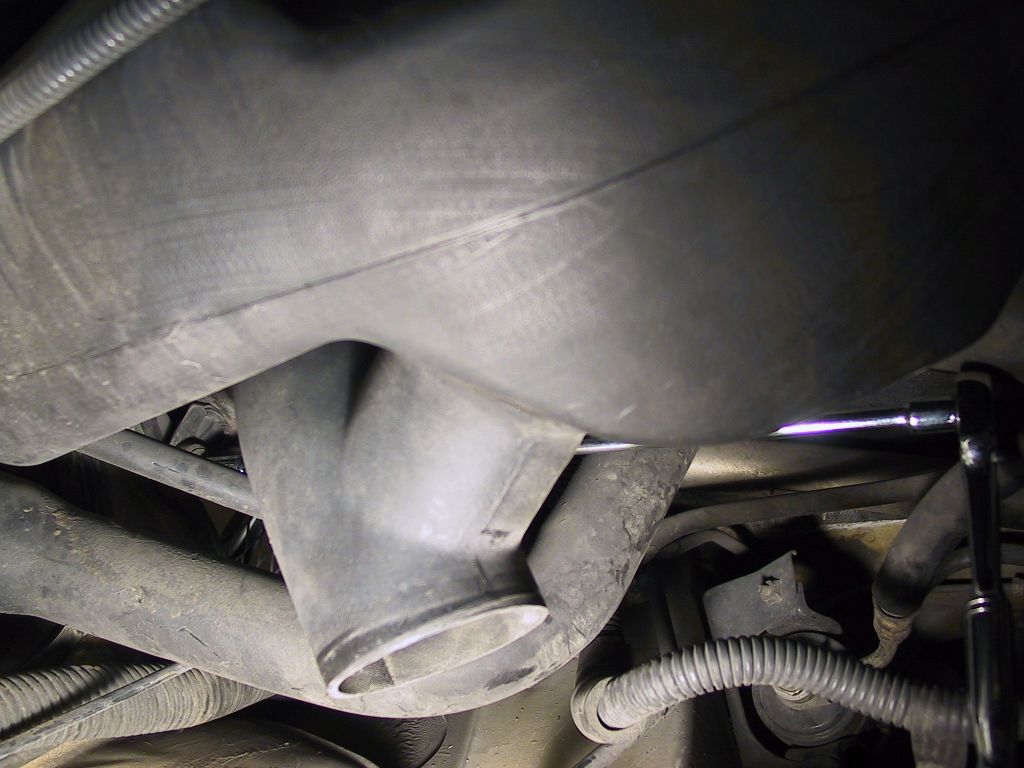
Remove the bolt from the flange near the intake hose:
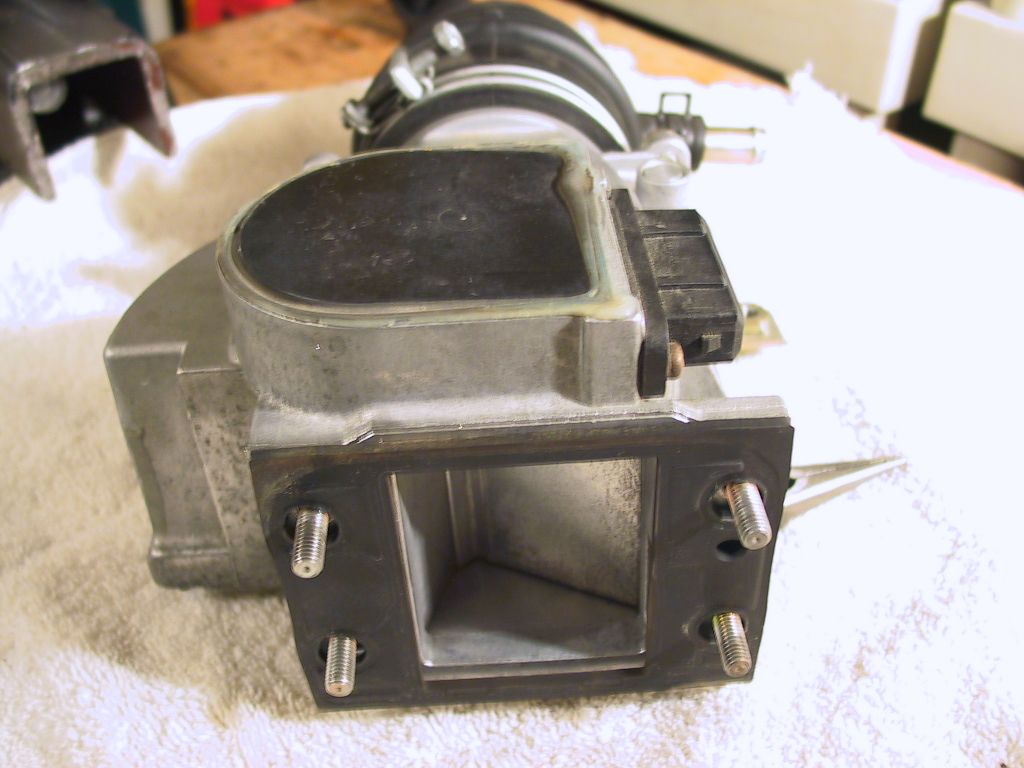
Don't lose the rubber gasket, as you'll need to reuse it with the APEXi unit.
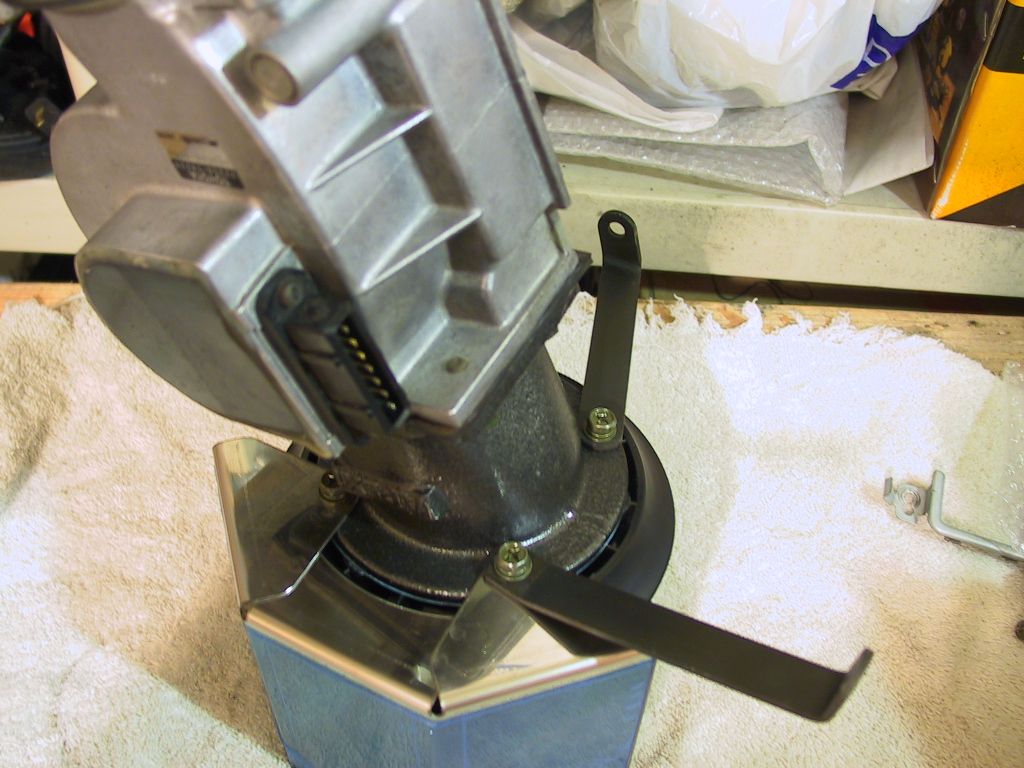
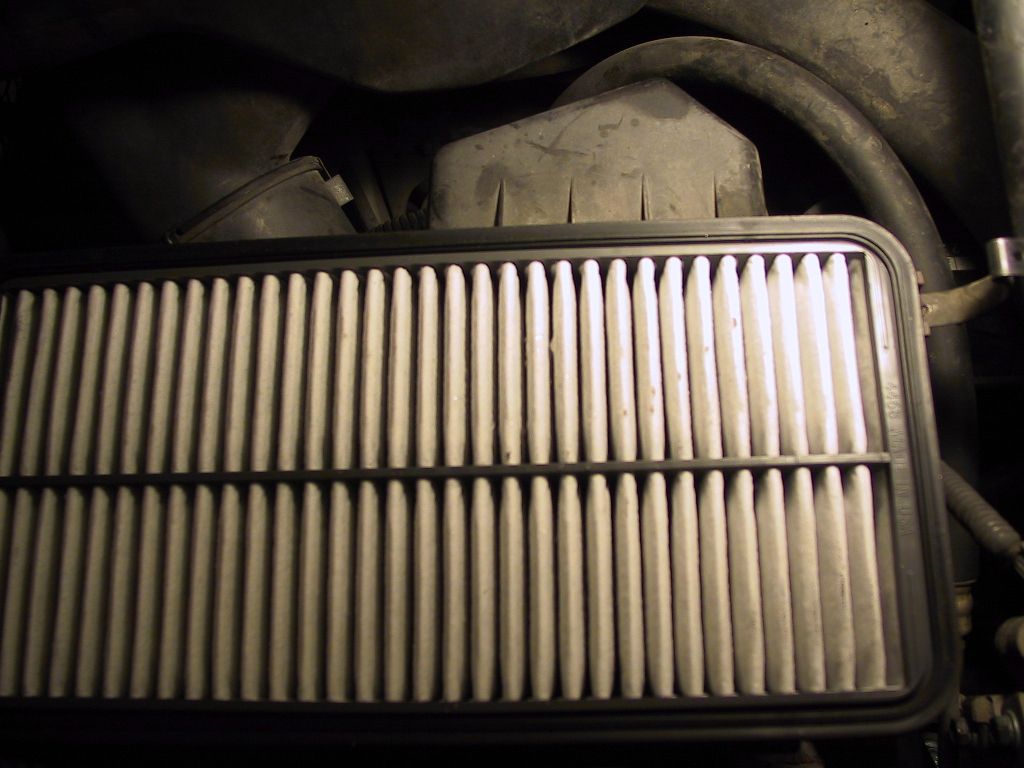
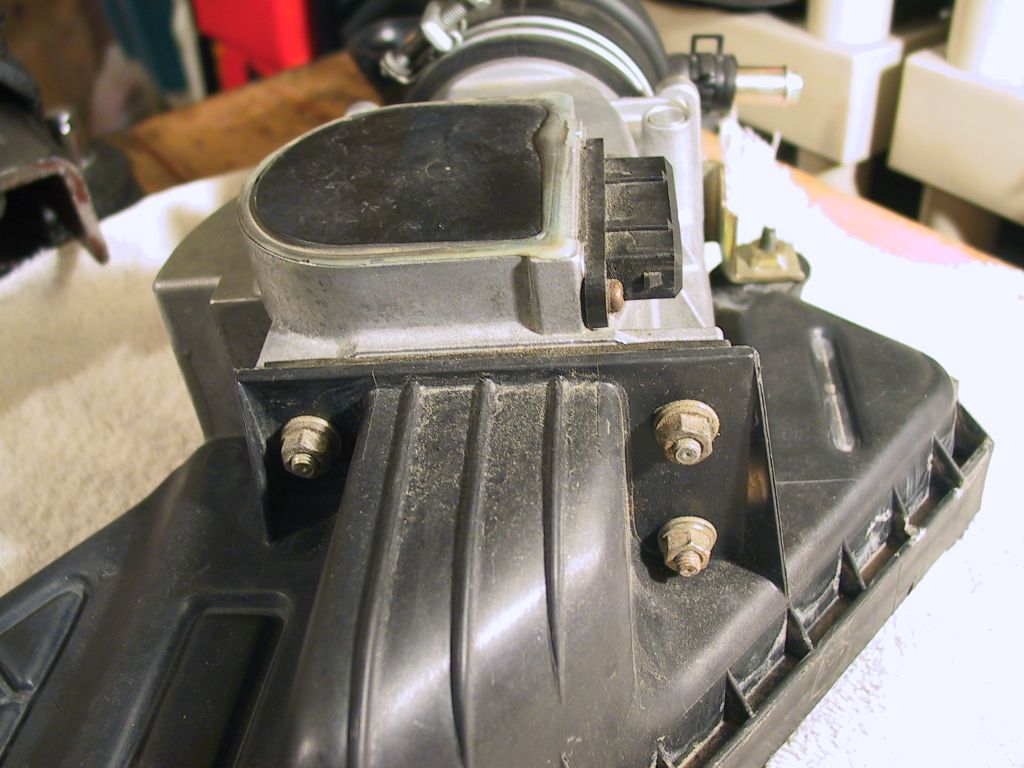
Set the air filter element on the work surface with the threaded inserts facing up.
Place the gasket on the filter element, and align the holes.
Set the entire AFM assembly on the gasket, making sure to align the holes.
Try to get the back-side bolt (the one that's hidden from view in the photo) in place, as it doesn't need to secure anything but the adapter to the filter element.
Place the hood in place, and try to get one of the bolts aligned and installed. I recommend the one on the left in the photo above, since you don't need to wrestle with the mounting arms.
Once you have two bolts threaded, the remaining two should be a breeze. The mounting arms are shown in their approximate position for installation. You can loosen them a bit during mounting, but the other bolts should be tightened securely at this stage.
NOTE: The APEXi drawings, at least the ones included with my unit, are misleading at this point. It's best to ignore them and follow the photo when installing the mounting brackets.
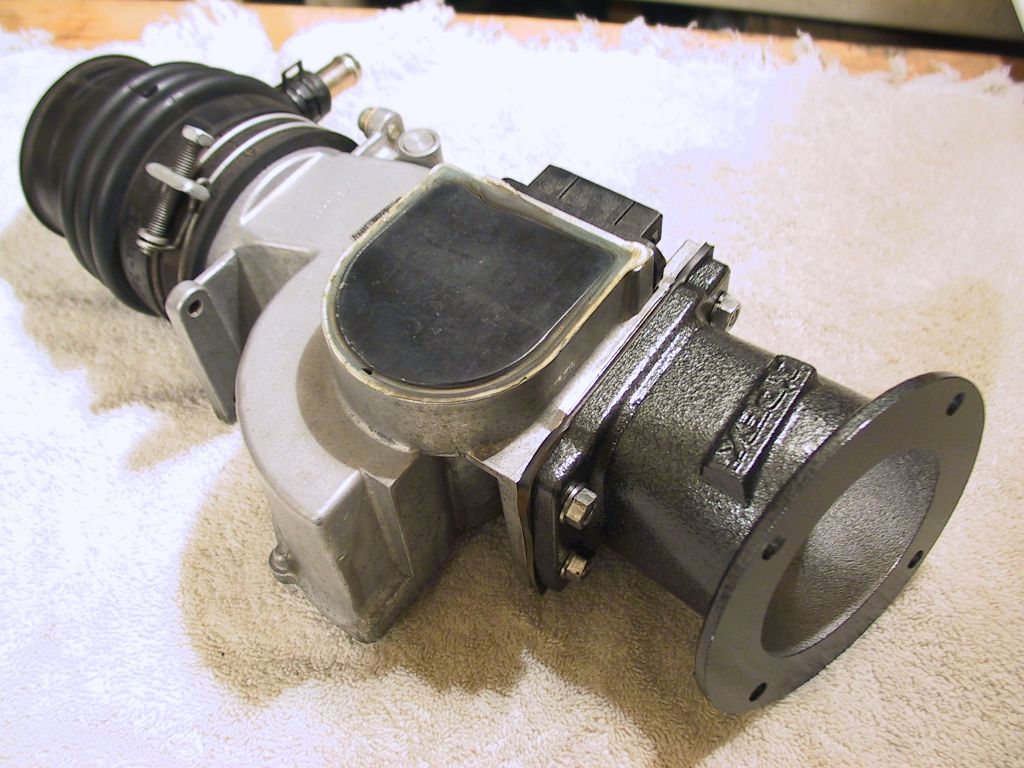
Install the APEXi-supplied bolt (13mm) into the lower mounting plate as shown
below. Leave it a little loose at this stage.

Here's a view of the finished unit in place:
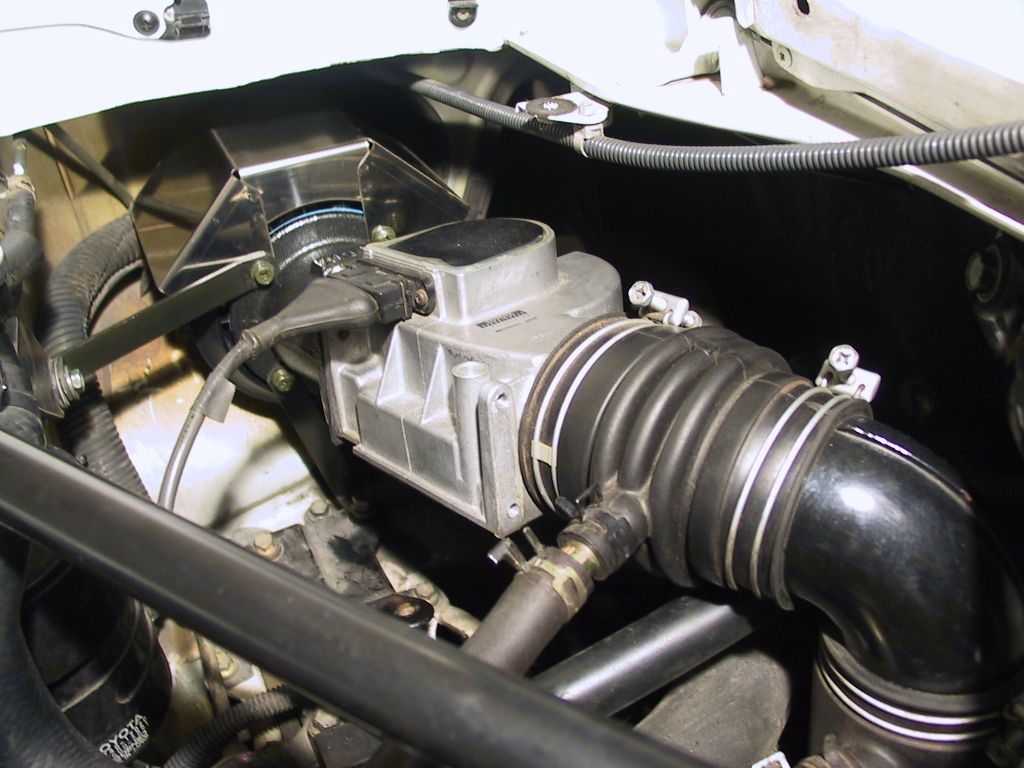
There's extra room left over!