15 September, 2004
Page
![]() 1
2
1
2
![]()
Removing the
MKII Door Trim Panel
The photos on this page are also available in 1024 x 768 by clicking on the image. The photos show the process on the driver's door, but the passenger side is the same.
Remember that this is only a guide -- not gospel. What you do to YOUR vehicle is YOUR responsibility. I do not endorse, approve, authorize, or otherwise encourage you to make alterations to your vehicle. Be careful, and recognize the dangers associated with modifications to your vehicle's critical systems, like electrical, engine, brakes, etc.
Please contact me if you have comments or suggestions about the article or the project, or if you find errors on these pages.
Tools/Materials
Needed
-
Phillips and flat-bladed screwdrivers in various sizes
Doing It
Make sure you have adequate room to open the door most of the way, as
some of the screws can only be reached when the door is nearly wide
open.
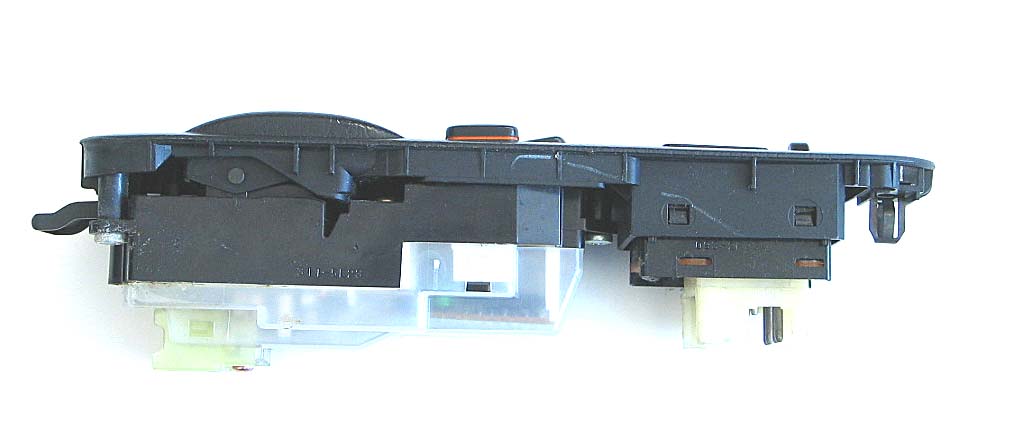
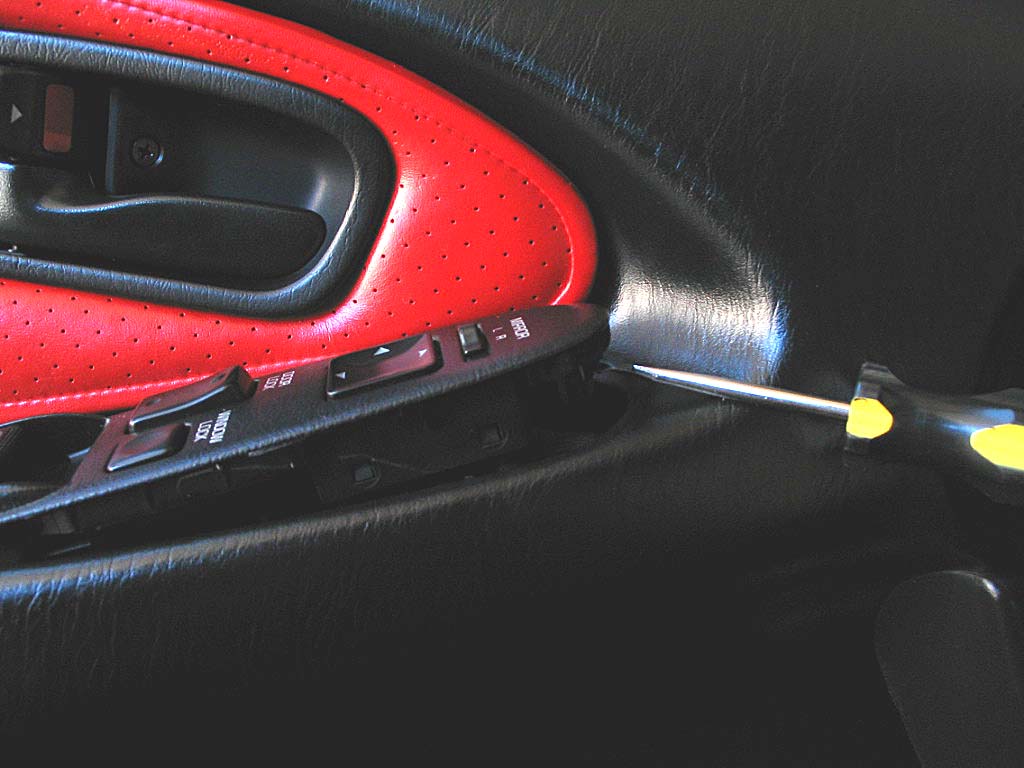
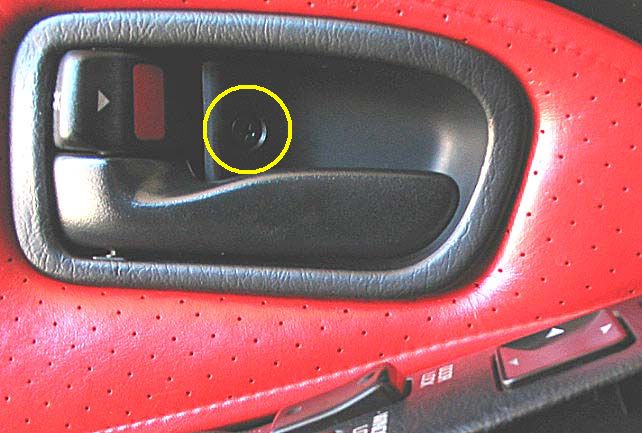
Note the "hooked" retaining tab on the back. This is easy to break if you apply pressure at the wrong point.
Carefully work the blade under the front lip of the switch assembly. Do not attempt to lift the rear of the switch assembly -- you'll break off the hooked tab located there.
Disconnect the two electrical connectors, and set the switch assembly aside.
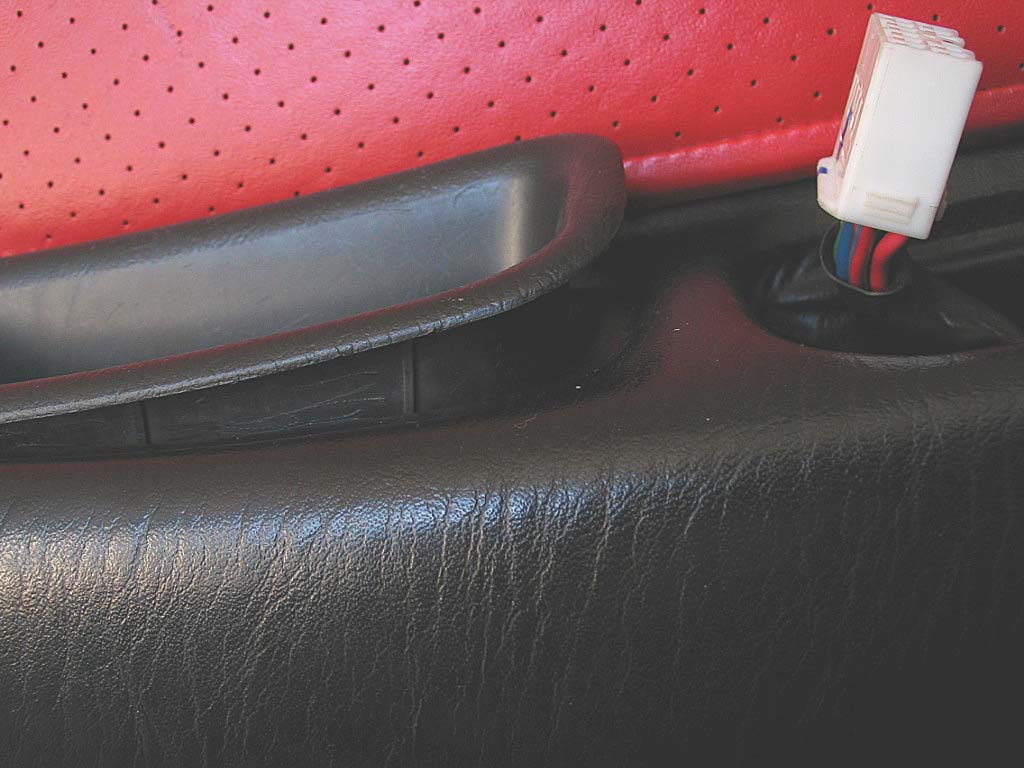
...then repeat the process at the rear. Here's a photo of the removed door pull:
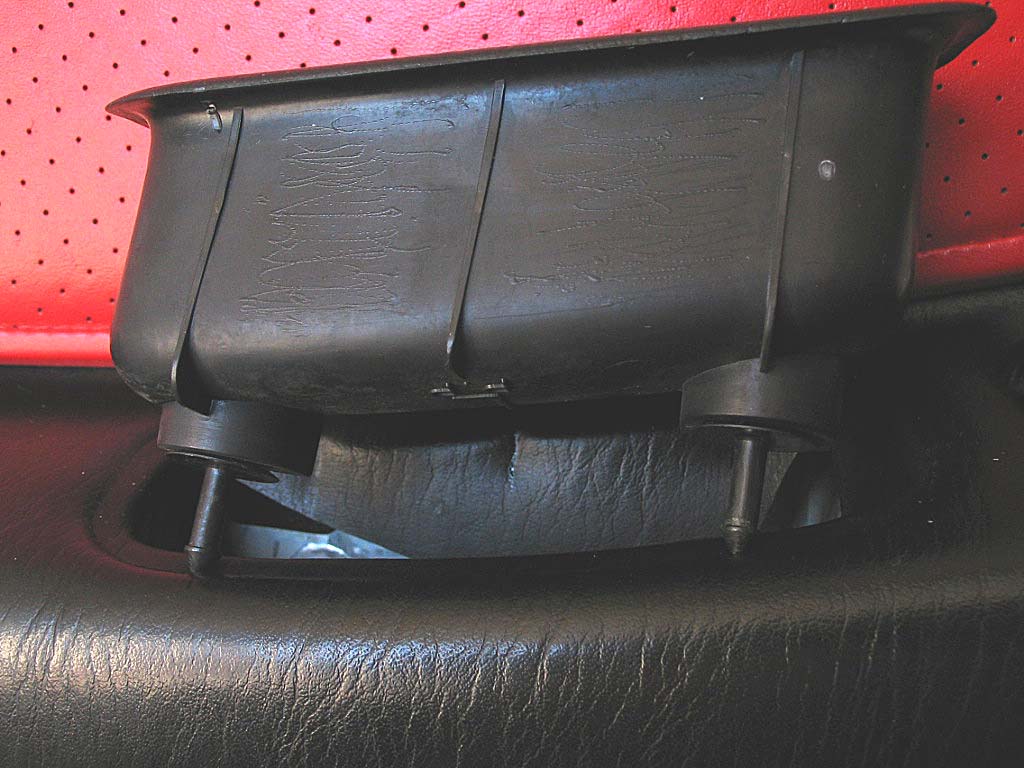
This screw is very short, so be ready to catch it when it pops out.
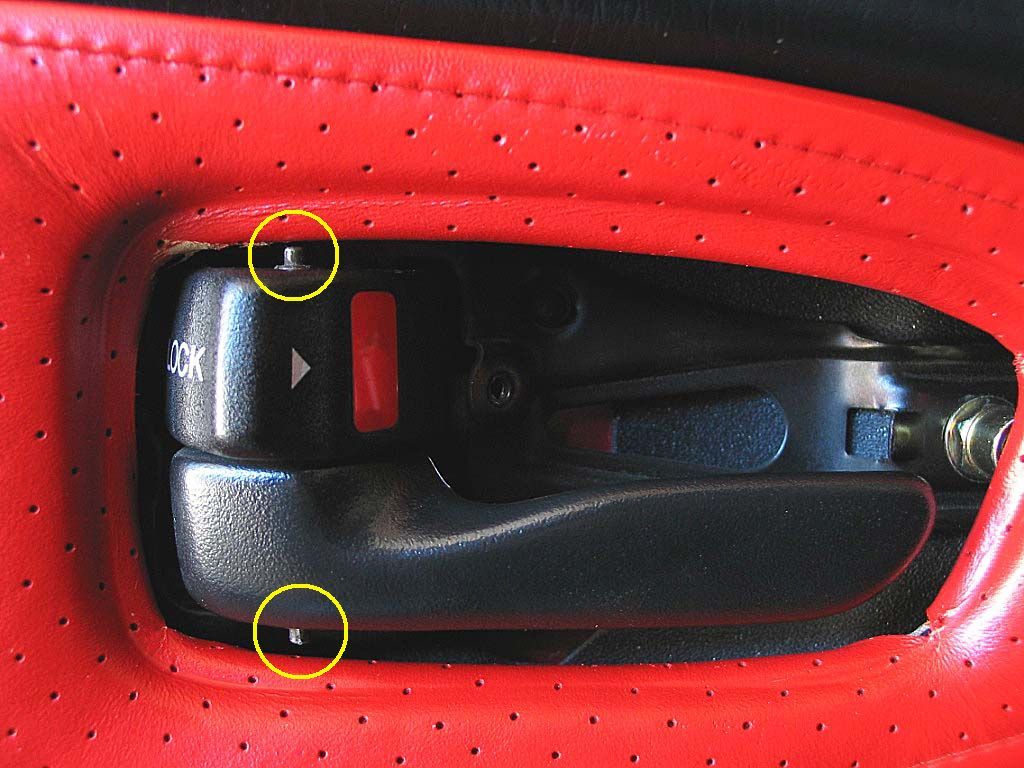
Note: It may pop right out, or it may get stuck. If it's stuck, it's likely that it's hung up on the central hinge pin for the door handle and lock assembly. The detail photo below shows the areas that you'll need to work it past:
Page
![]() 1 2
1 2
![]()