Installing an APEXi AVC-R
Electronic Boost Controller
(continued)
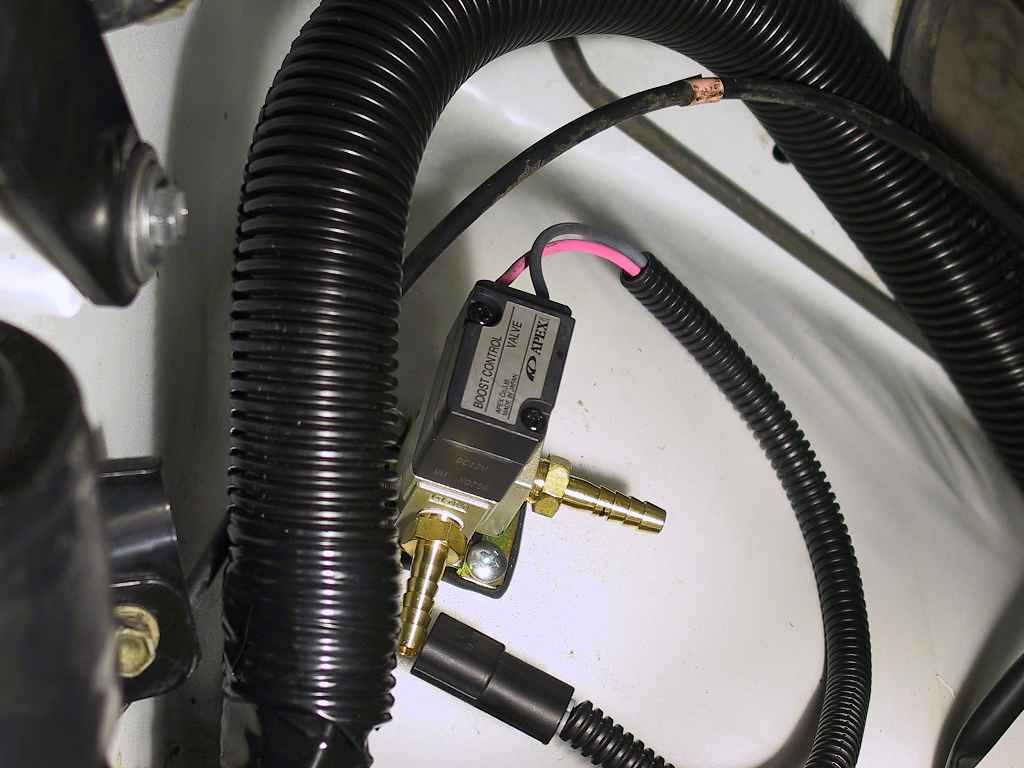
As with the pressure sensor, the wire harness was routed from the center console, and the two wire leads for the solenoid valve protected within a length of ribbed sleeving. The unit comes with a rubber mounting pad to reduce the noise level when it operates, however, I found that it was still too noisy in this location and I am planning on relocating the solenoid to a quieter location.
The hose on the left connects to the turbo housing, while the hose on the right leads to the turbo VSV.
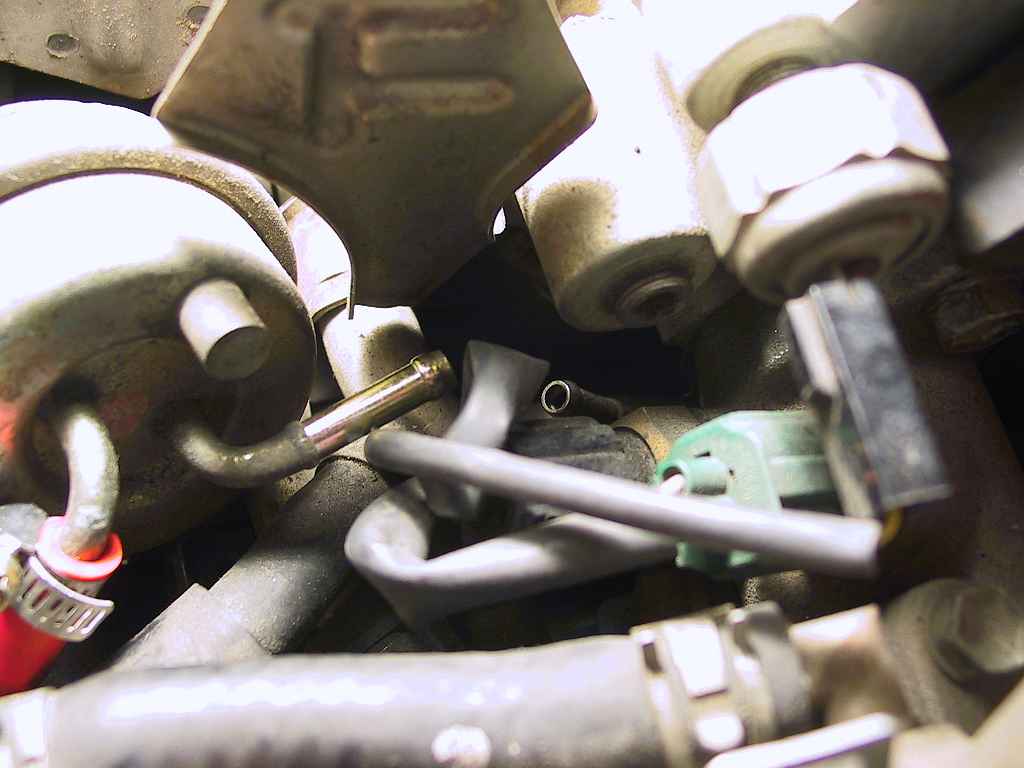
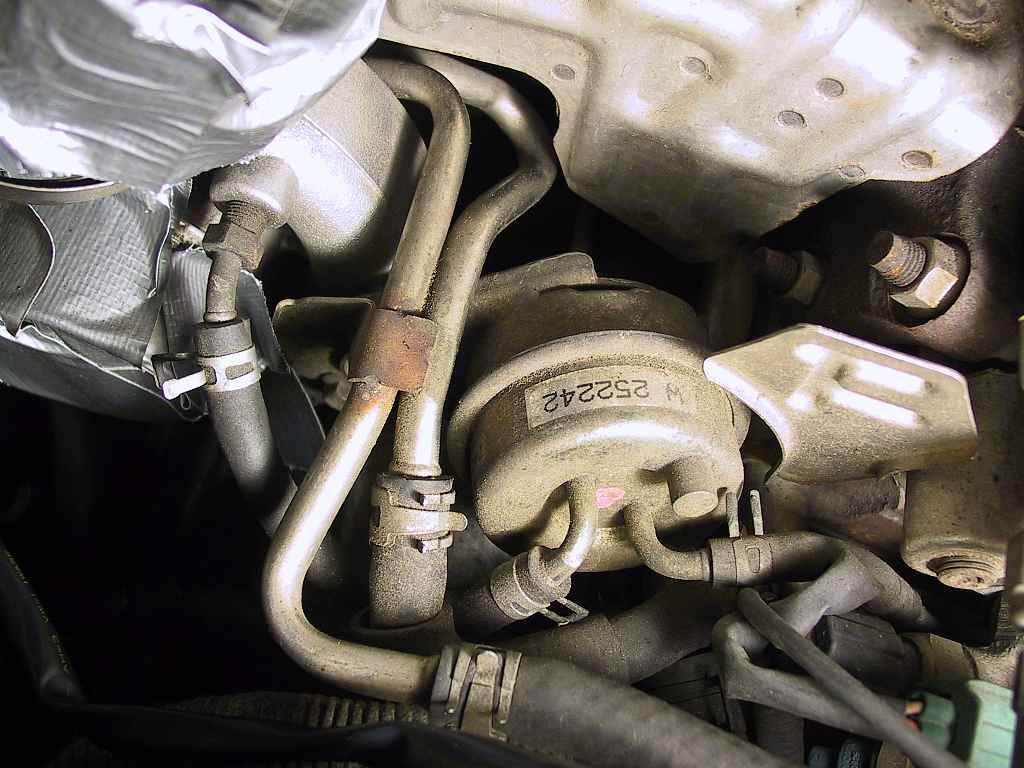
Cap both ends. You must securely clamp the cap on the wastegate actuator nipple, or you will experience uncontrolled boost (as I learned firsthand). Here's a photo of the rubber hose plugs I used, before they were clamped down:
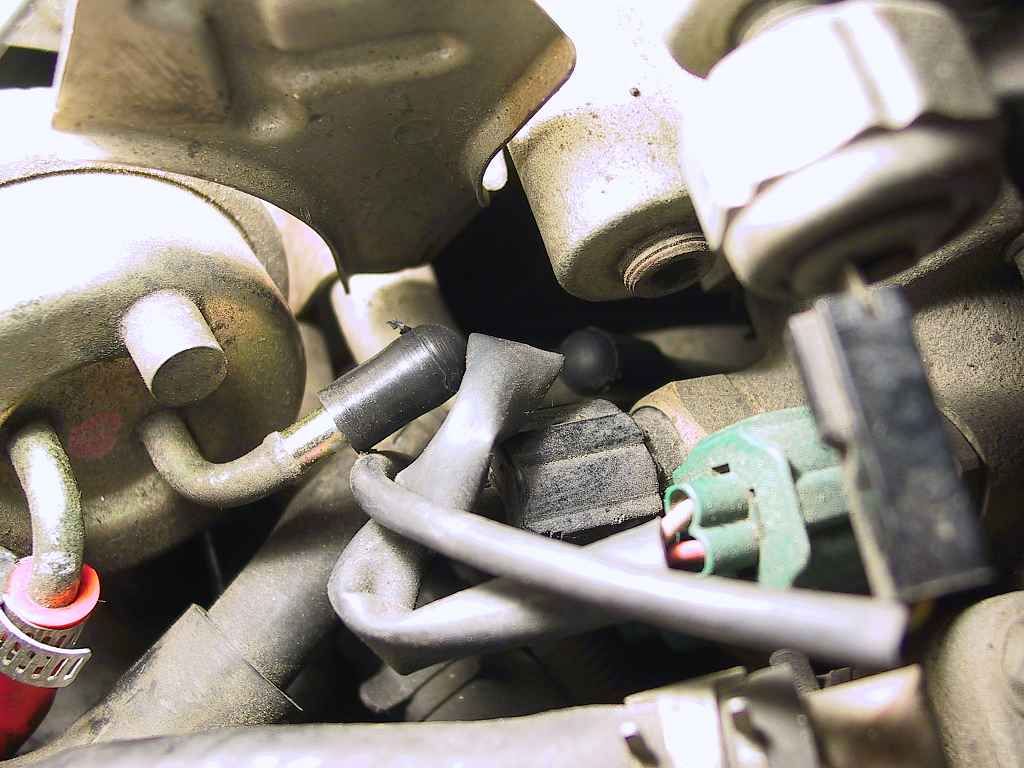
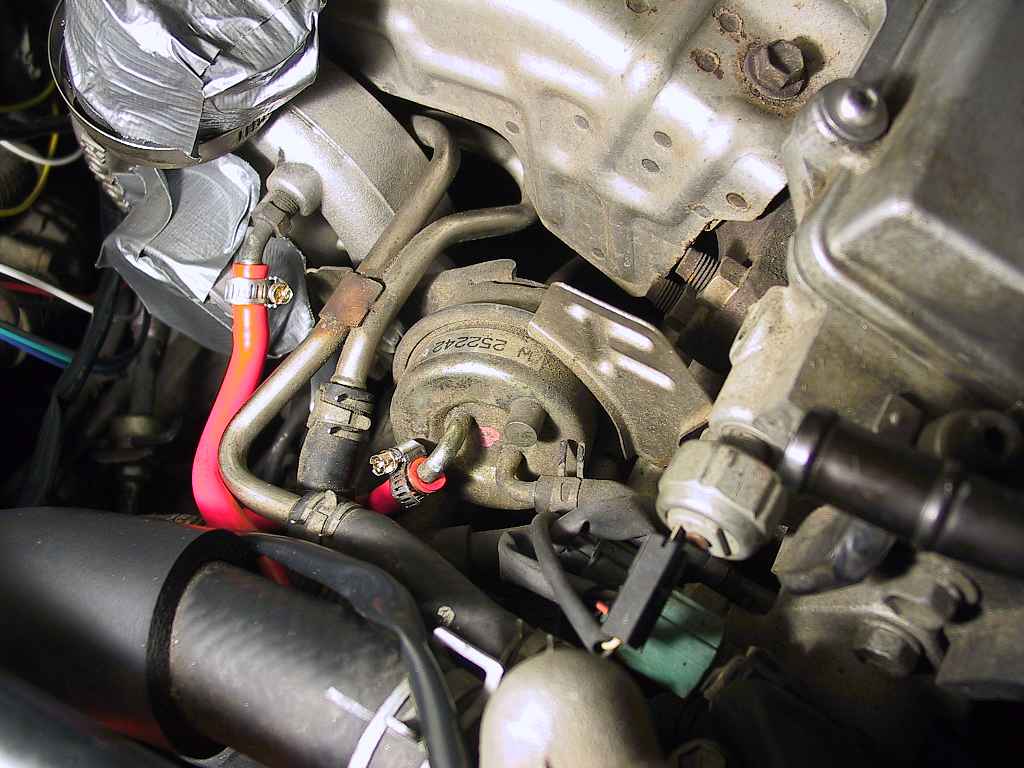
The cap on the wastegate actuator later developed a hole, so I installed a length of silicone hose with a tight-fitting plug in the end as a (hopefully) permanent solution.
All that remains to
complete the solenoid installation is to join the two halves of the
electrical connector.
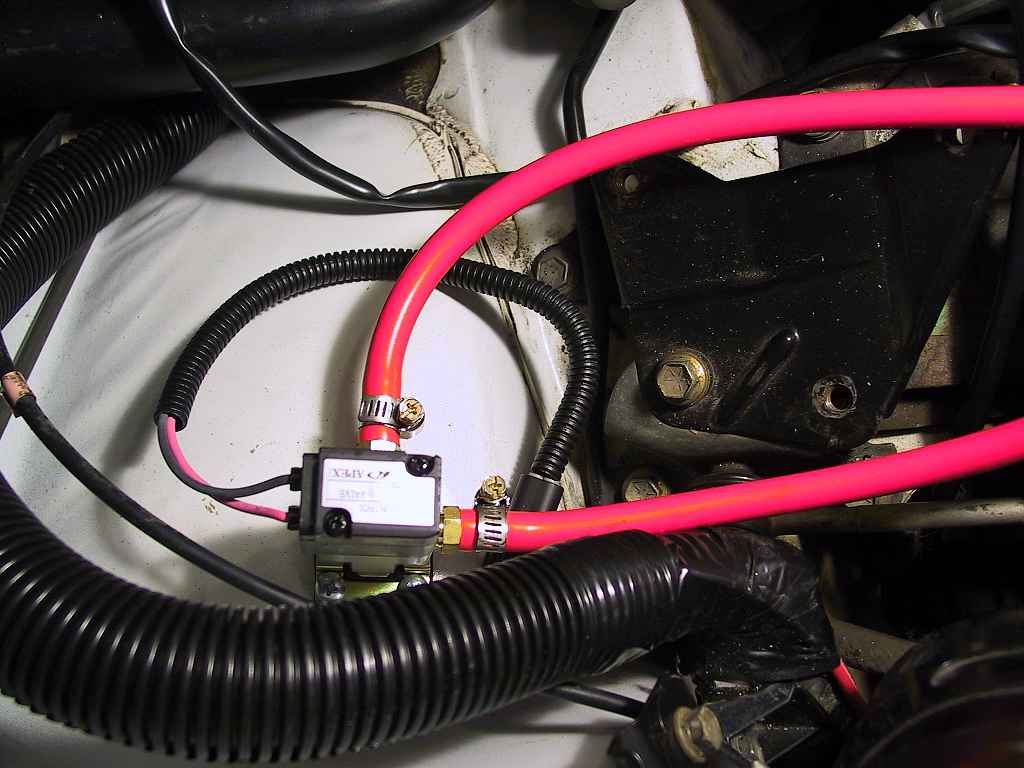
Annoyed by the loud clicking of the solenoid when under boost, I decided to relocate the solenoid. I fabricated a simple aluminum bracket and secured it to one of the unused airbox mounting holes using some rubber isolation washers and a stainless bolt. I then placed the solenoid on a 1/2" thick pad of Sorbothane, a type of polyurethane used for isolating vibrations and secured the solenoid to the bracket with nylon bolts to further eliminate the clattering of the solenoid. Here's a photo of the updated installation:
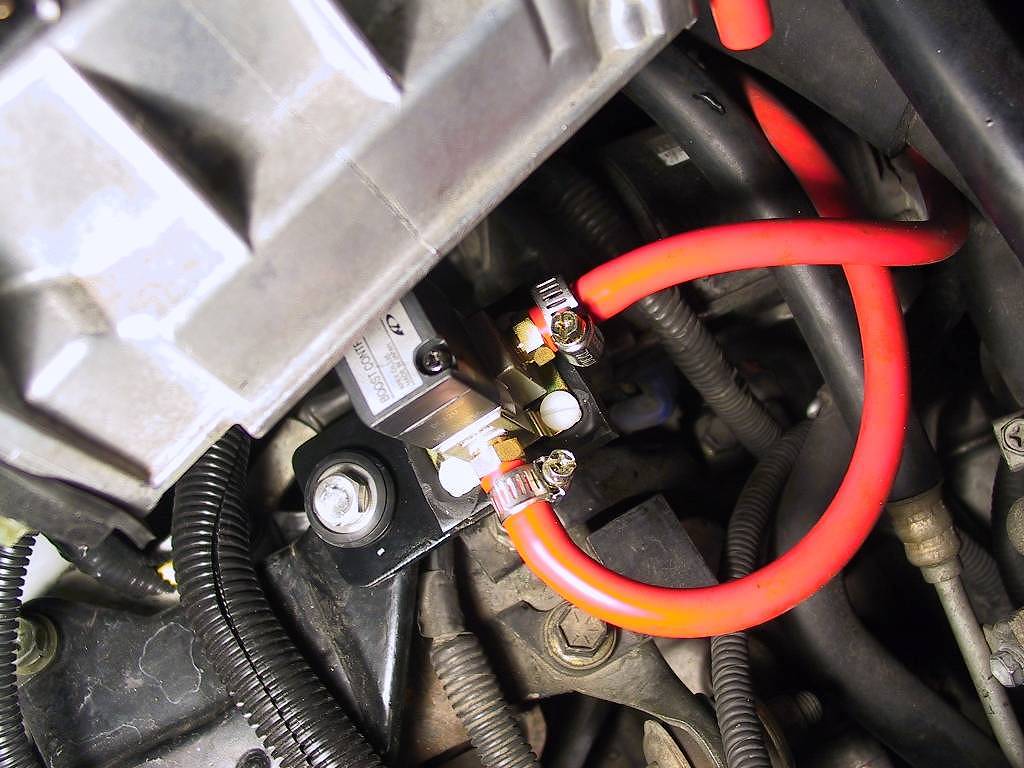
This completely stopped the solenoid noise from reaching the cabin, and also shortened the length of the vacuum hoses to the wastegate actuator, which improves response.
The following instructions worked on my
car, a '93 U.S.-spec Turbo. The warnings about "you are on your
own" are doubly important in this, since you can fry your ECU in the
worst case scenario.
The ECU has 3 connectors. According to the BGB, "A" is the
22-pin connector, "B" is the 26-pin connector, and "C"
is the 16-pin connector. The pin numbers below match the BGB designations.
I ran the following wire colors from the AVC-R harness to the
ECU harness: