15 September, 2004
Installing an
In-Dash Boost Gauge
I purchased a Blitz 43mm gauge, but never got around to tearing up the instrument cluster to put it in. When I was parting out my wrecked 93 Turbo (White), I decided do the work on that cluster, then simply swap it into my "new" 93 (Red).
I recommend buying a replacement gauge cluster lens, as they are not very expensive, and it's likely yours is scratched from constant cleaning. I got mine from Conicelli, and it was only $16.
The following guide includes plenty of photos, so it will load slowly on a dial-up connection. All of the photos can be clicked for a larger (1024 x 768) image.
Remember that this is only a guide -- not gospel. What you do to YOUR vehicle is YOUR responsibility. I do not endorse, approve, authorize, or otherwise encourage you to make alterations to your vehicle. Be careful, and recognize the dangers associated with modifications to your vehicle's critical systems, like electrical, engine, brakes, etc.
Please contact me if you have comments or suggestions about the article or the project, or if you find errors on these pages.
Tools/Materials
Needed
-
Boost gauge (43-45mm)
Note: As of Feb 2003, gauges in this size are scarce. Omori seems to be the only manufacturer still making a small boost gauge, but they seem to always be unavailable. -
Soldering iron & solder (low wattage)
-
Short length of 22 or 24 AWG hook-up wire
-
Small-gauge ring connector
-
Phillips and flat-bladed screwdrivers in various sizes
-
10mm socket
-
Dremel moto-tool or similar
-
Sharp Xacto knife or similar cutting tool
-
Wire cutter/stripper tool
-
Vacuum hose (12' to 20')
-
Cable ties
Doing It
The first step is to remove the instrument panel fascia. In Fixing a Stuttering CD Player,
I describe the procedure to remove the center instrument panel fascia.
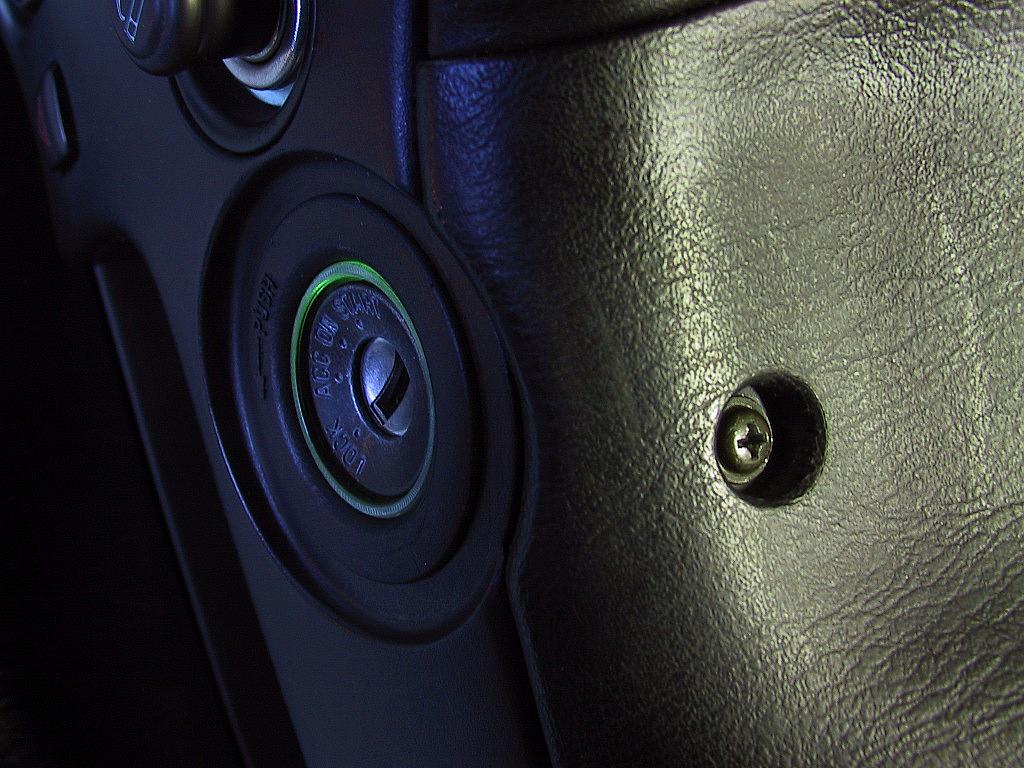
Once that piece is removed, there's one screw just to the right of the
steering column. Here's a shot from below:
I then used a flat-blade screwdriver (with some electrical tape wrapped
around the tip to avoid scratching the materials) to gently pry out the
fascia. Just apply a little pressure as you work your way around the
trim.
Once it is free, you'll need to disconnect the electrical connector to
the instrument light dimmer switch.
PHOTO HERE
PHOTO HERE
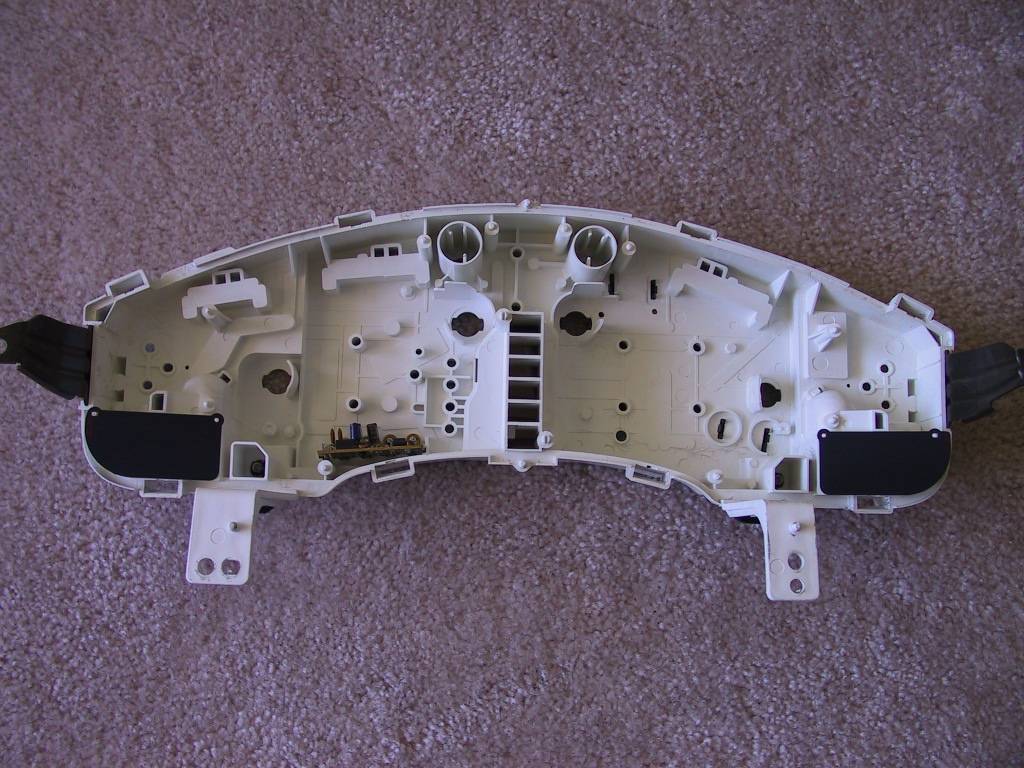
Ease the cluster assembly out, then find a clean, brightly lit place to work on it.
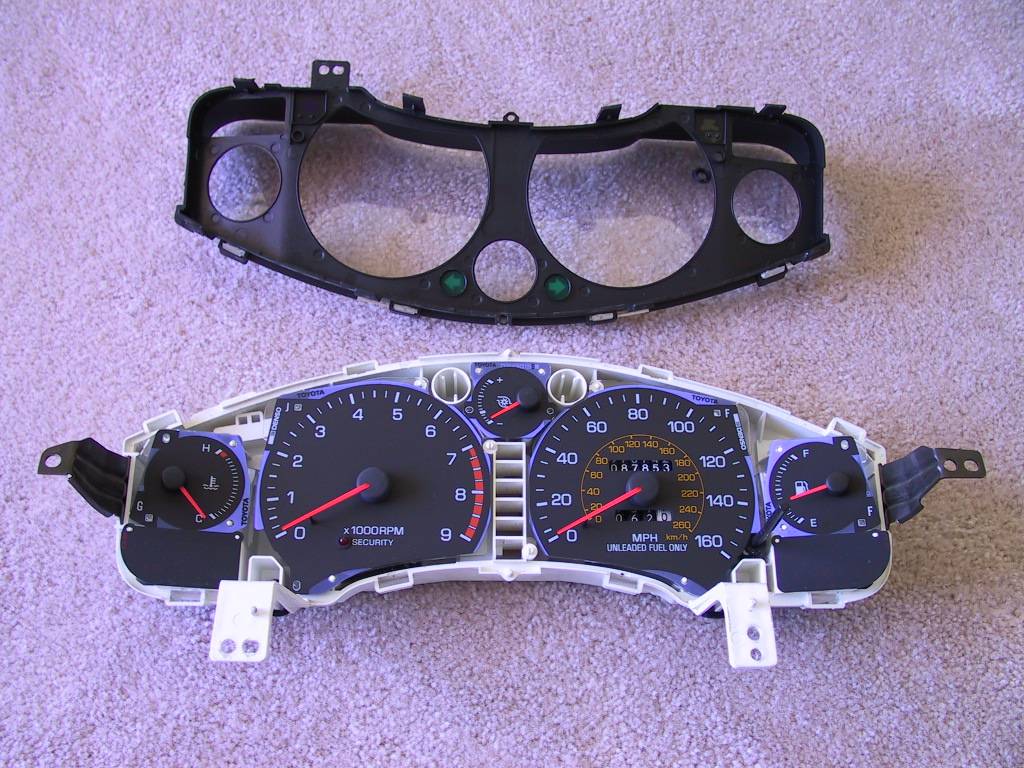
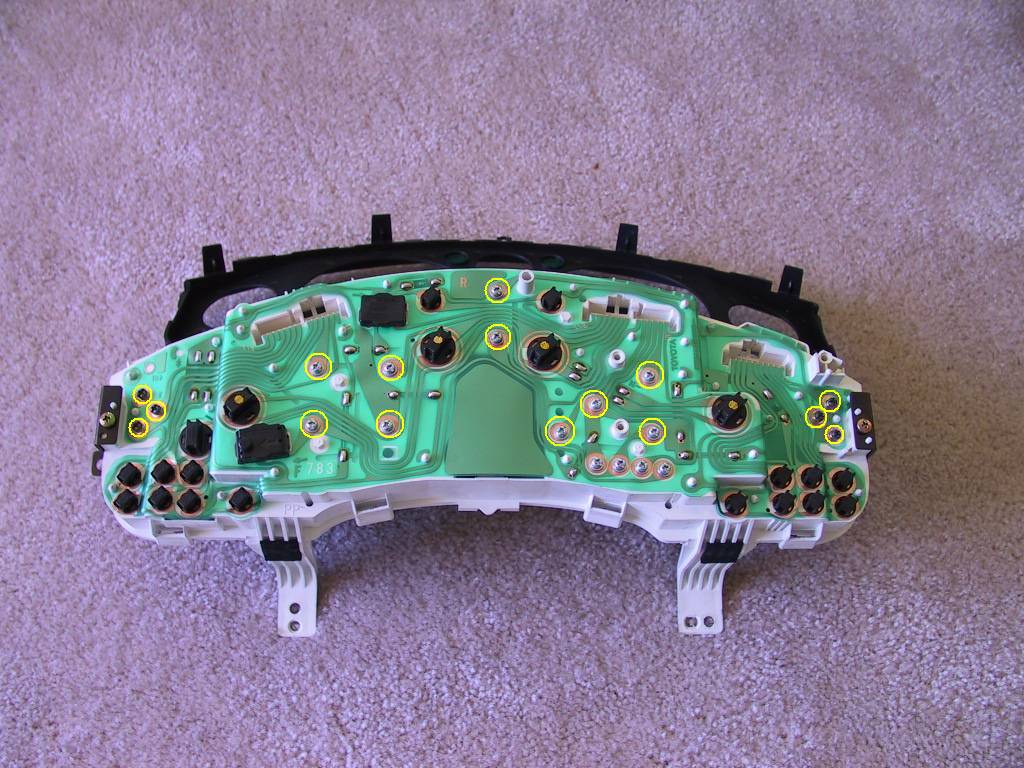
I also removed the lamps in the cluster.