Page        1    2    3      


In-Dash Boost Gauge Installation
(continued)

 
Here's a photo of the rear of the Blitz gauge. If your gauge is like this one, you'll need to snip off those mounting studs as short as possible. 
Gauge_Cluster-16.jpg (40175 bytes)
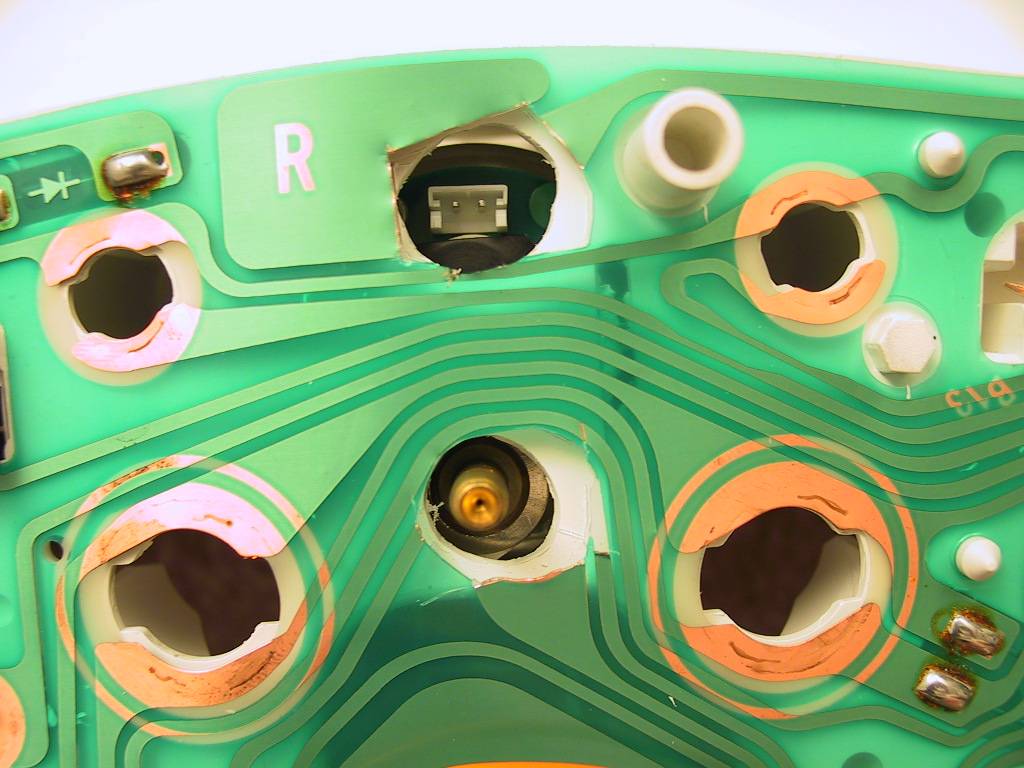
You'll need to make a hole in the cluster case for the boost line and the lighting power connector.
 
I started by taking a Dremel tool and cutting away all of the ribs and bosses in the area where the gauge would be mounted. It was fairly easy, but use caution as the plastic melts fairly quickly:
Gauge_Cluster-25.jpg (52554 bytes)
 
Once the material was removed, I dry-fitted the gauge to see how close the fit was:
Gauge_Cluster-30.jpg (78778 bytes)
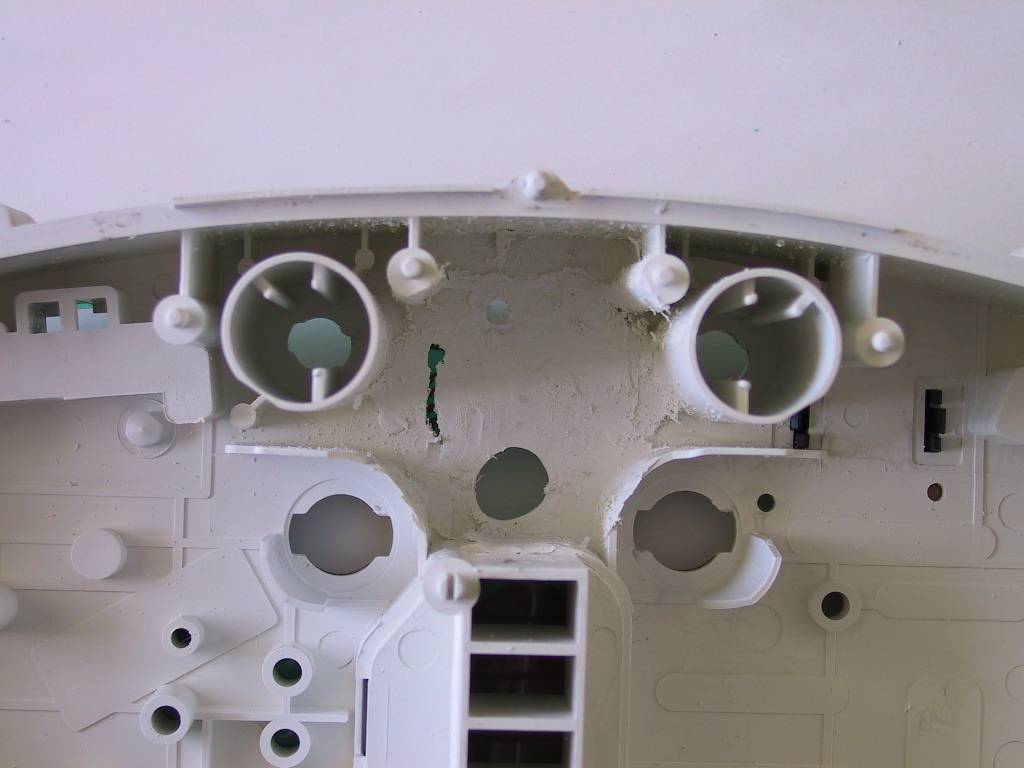
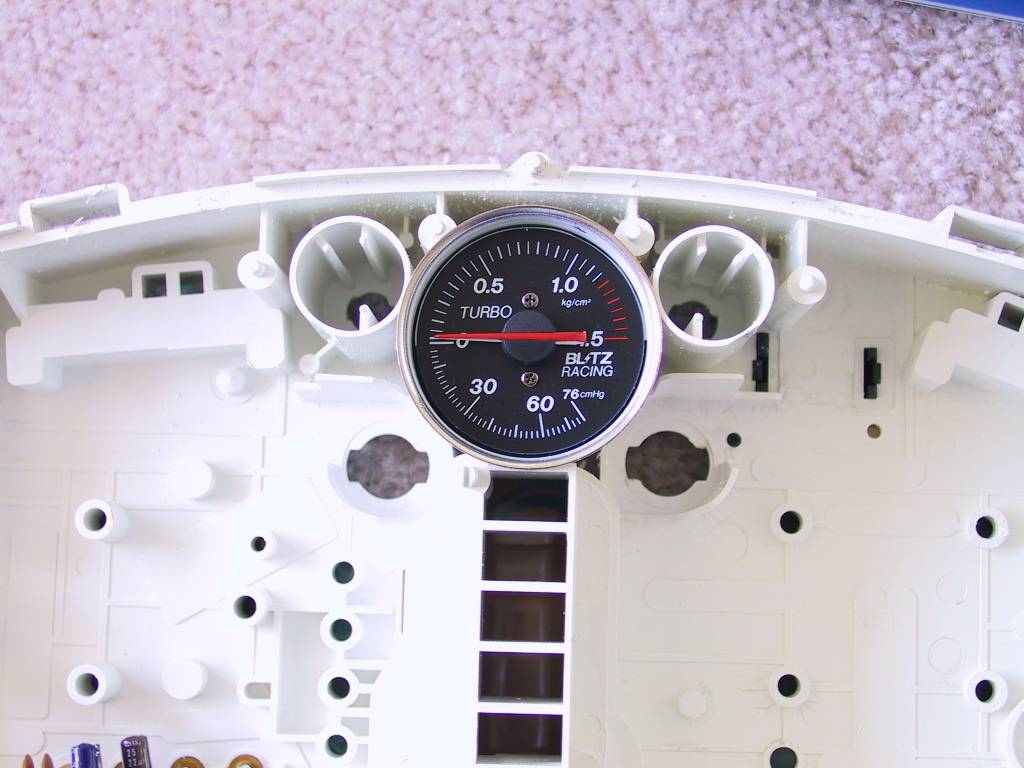
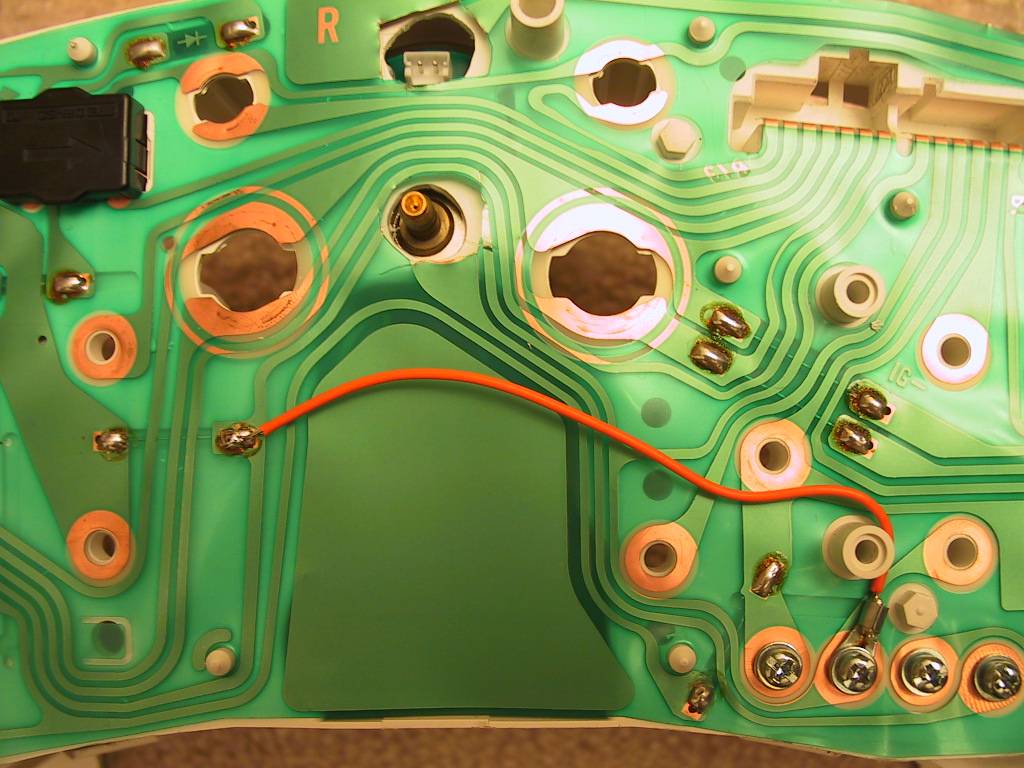
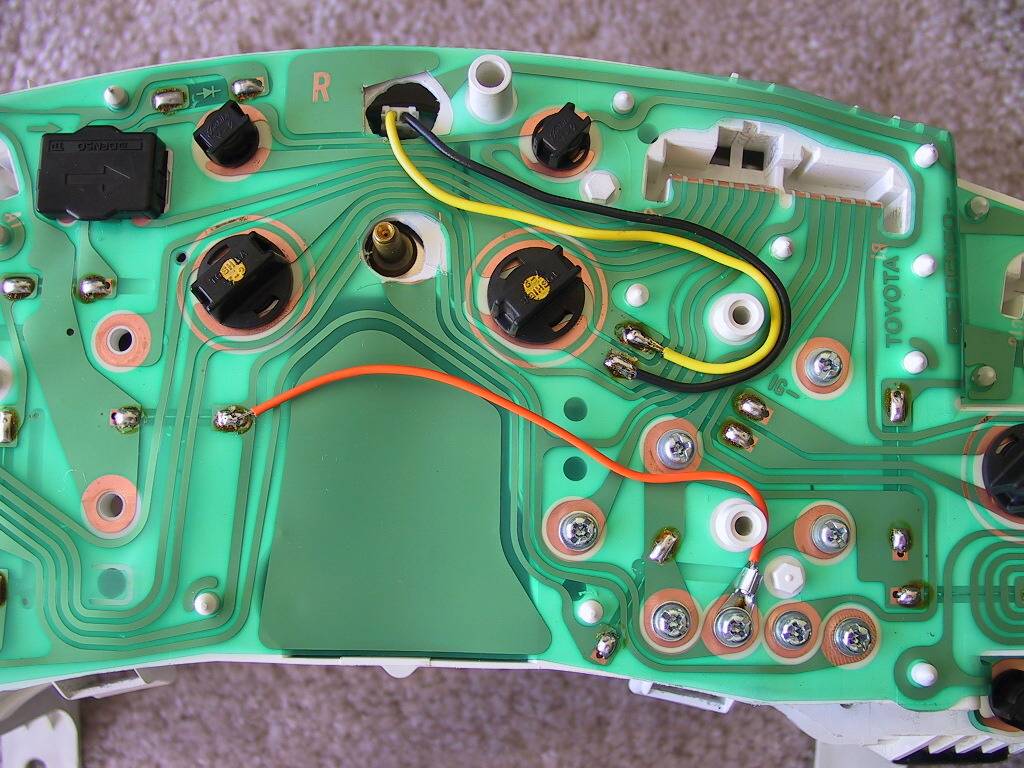
Dry fitting helped me to determine where I needed to drill holes in the back to accommodate the connections. Once I had the fit correct, I centered the gauge in the opening and used a few dabs of hot glue to secure it.
 
Here's a shot of the back of the housing, showing where the holes need to be cut to permit the boost hose and electrical connector to attach:
Gauge_Cluster-95.JPG (91587 bytes)
 
I had to cut through one of the traces to make the lower hole large enough. I then soldered a jumper cable to one side of the trace and used a ring connector to install it on the other side. The red wire below illustrates this jumper:
Gauge_Cluster-96.JPG (106938 bytes)
 
Next, I had to provide power for the gauge lighting. I chose to tap into the power circuit to the main gauge cluster lighting, seen below by the yellow and black wires:
Gauge_Cluster-107.JPG (128730 bytes)
 

      Page        1    2    3