23 October, 2004
Removing the 3SGTE (continued)
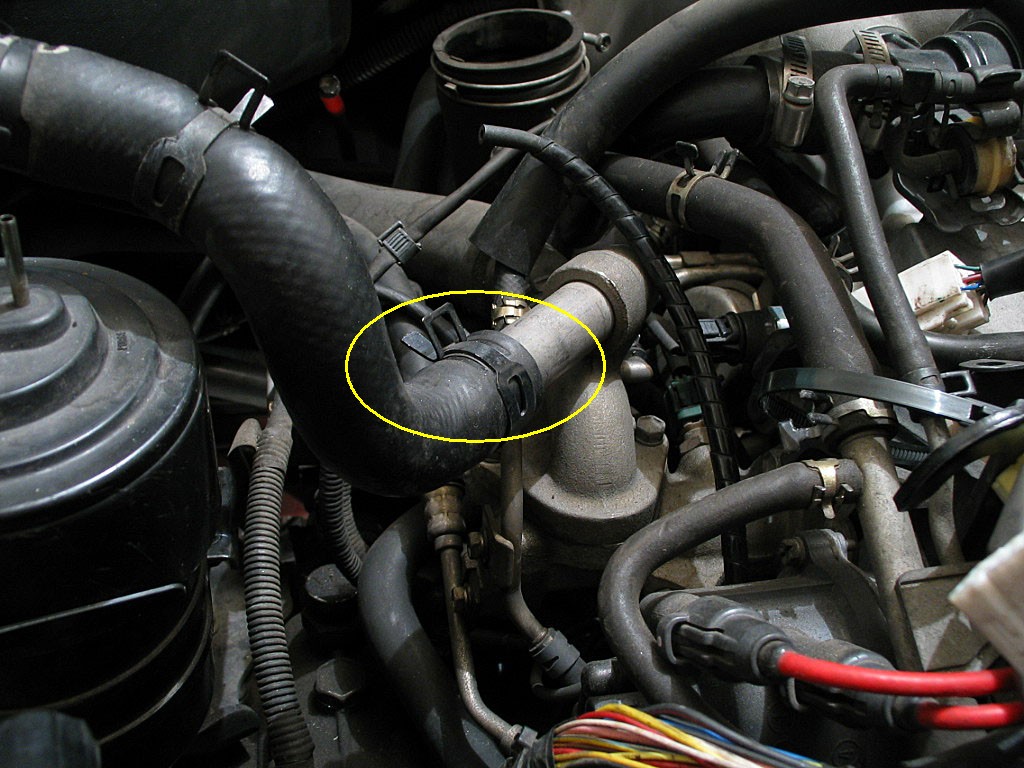
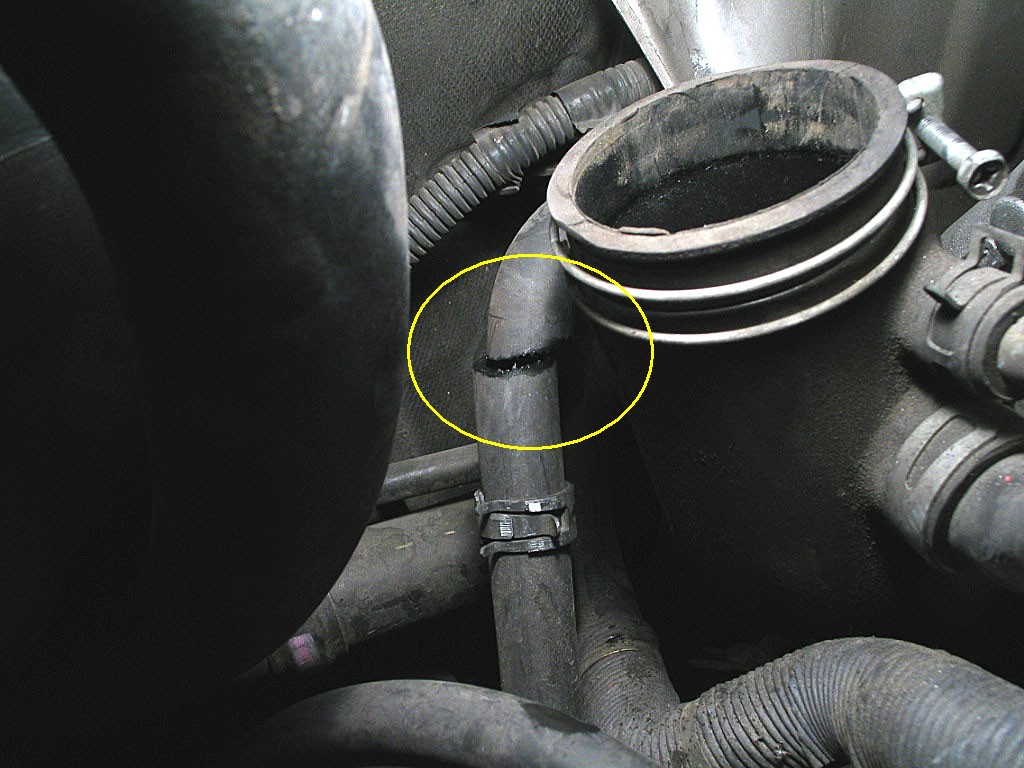
Twist the hose gently, and remove it.
Remove the end of the hose and tie it up out of the way:

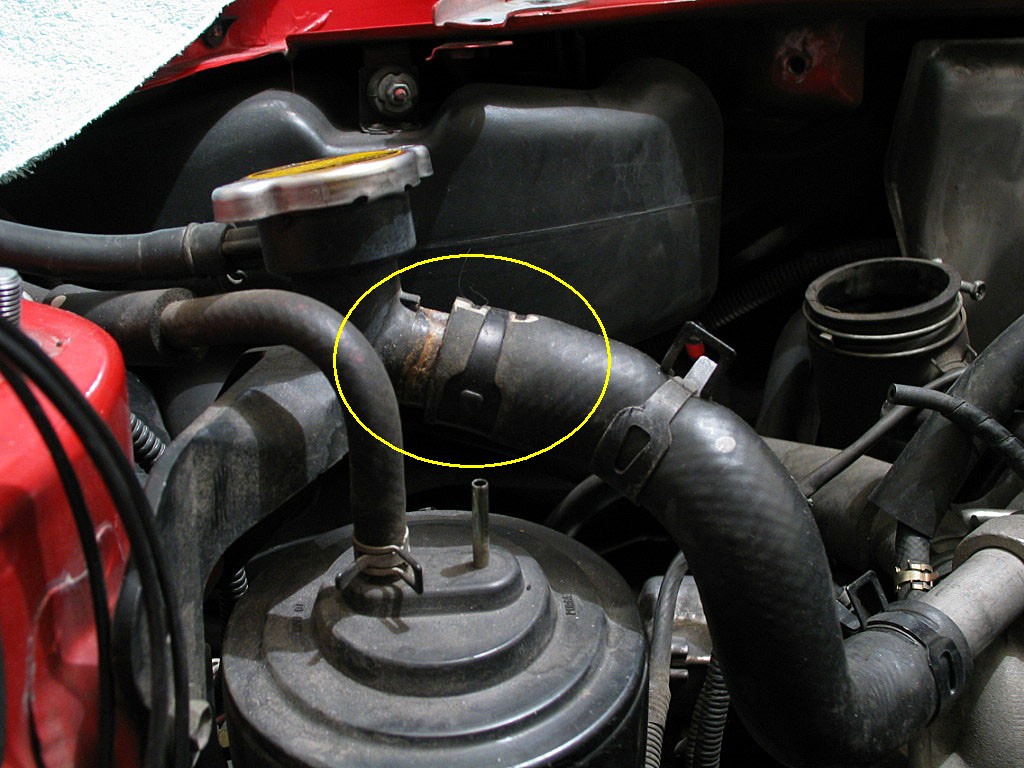
You can loosen the clamp and try to remove the hose, but mine was really stuck. Rather than fight with it, I decided to cut both heater hoses off and remove the pieces later. The justification is that it's faster and gentler on the hose nipples.
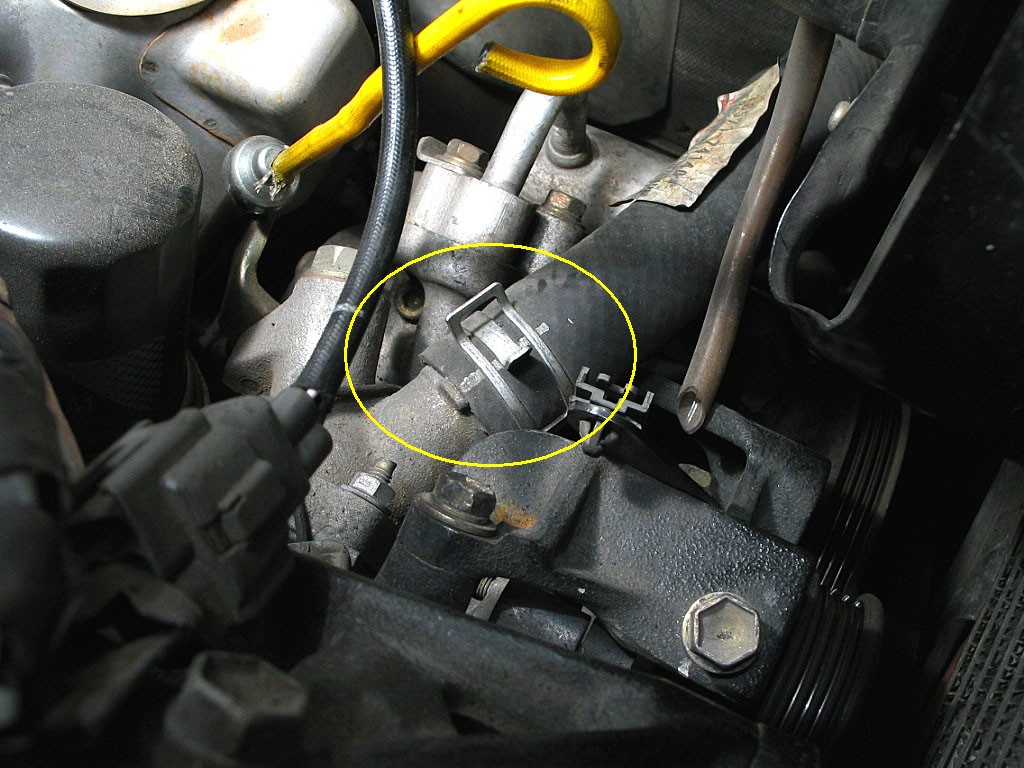
...remove the hose from the manifold...
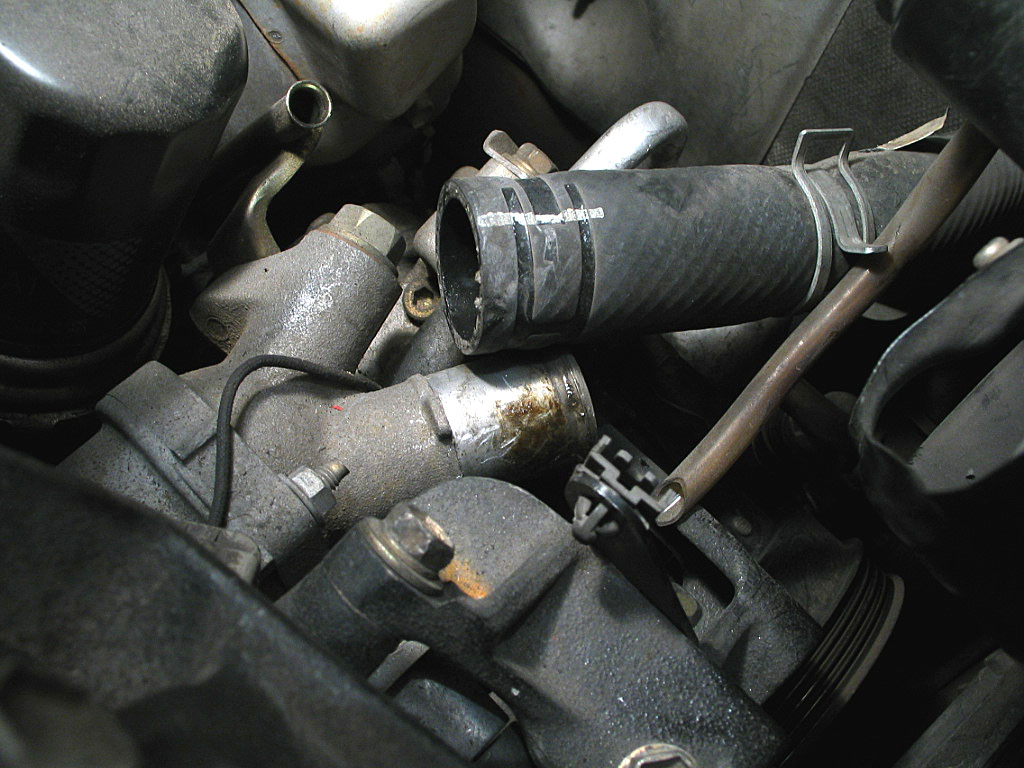
...and tie the hose end out of the way:
I raise the car a little at a time, about 2"-3", before I reset the jack stand height. Then I raise it a bit more. I try to keep the car pretty level, so that means moving from front to back a few times. It takes longer, but I feel a lot safer. Of course, if you have access to a lift, then things are much easier.
I position the jack stands just inside the lip on the rocker panels, aligned with the jacking point marks:
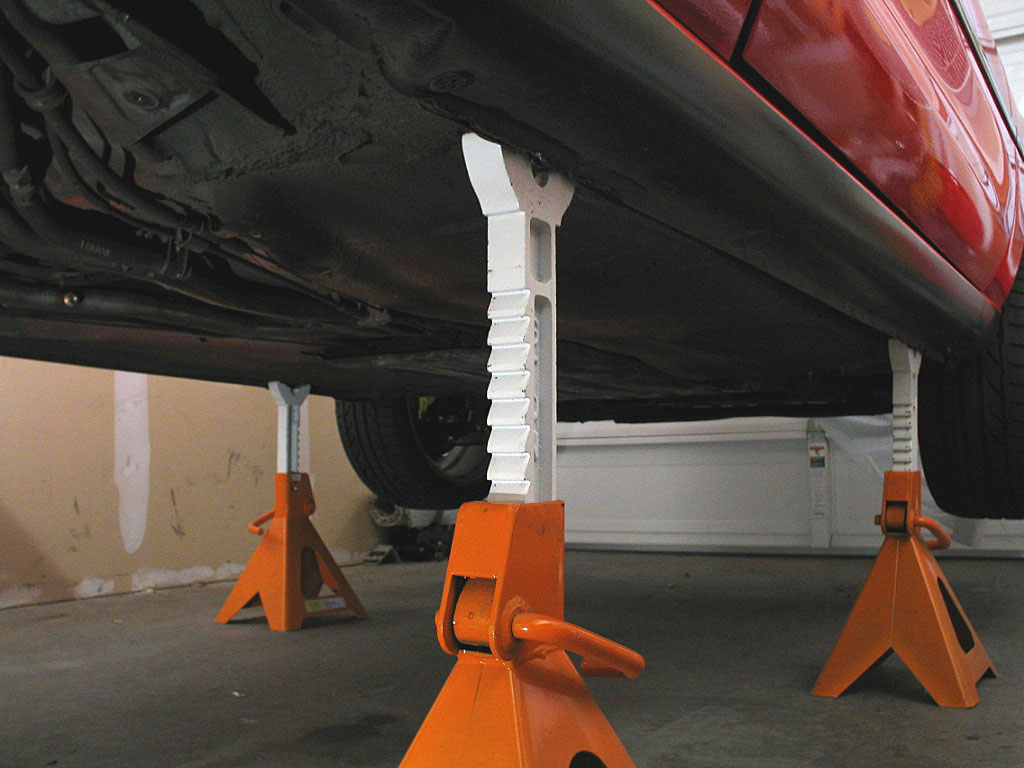
The clearance from the garage floor to the lowest edge of the rocker panel is 23�" at the rear, and maybe 2" lower in front.
The clearance to the edge of the lower rear fascia panel is 30�". Since the motor will be rolled out the back, this is the crucial dimension. I set the motor on a creeper, which is very low. If you use a taller dolly, you'll need to raise the car to compensate.
Also, changing the position of the car will probably result in additional fluids spilling out, so be prepared to catch them.
The folks who wrote the BGB seem to believe that simply applying the parking brake is enough to keep the hub from turning. Maybe that works when the car is brand new. I've never had it work for me. And putting the car in gear and relying on the transmission to hold the axle in place doesn't see like the correct procedure either.
Here's my approach. First, install lug nuts (I always seem to have some old ones laying around) on three consecutive studs. Next, find yourself a big crowbar and fit it as shown below:
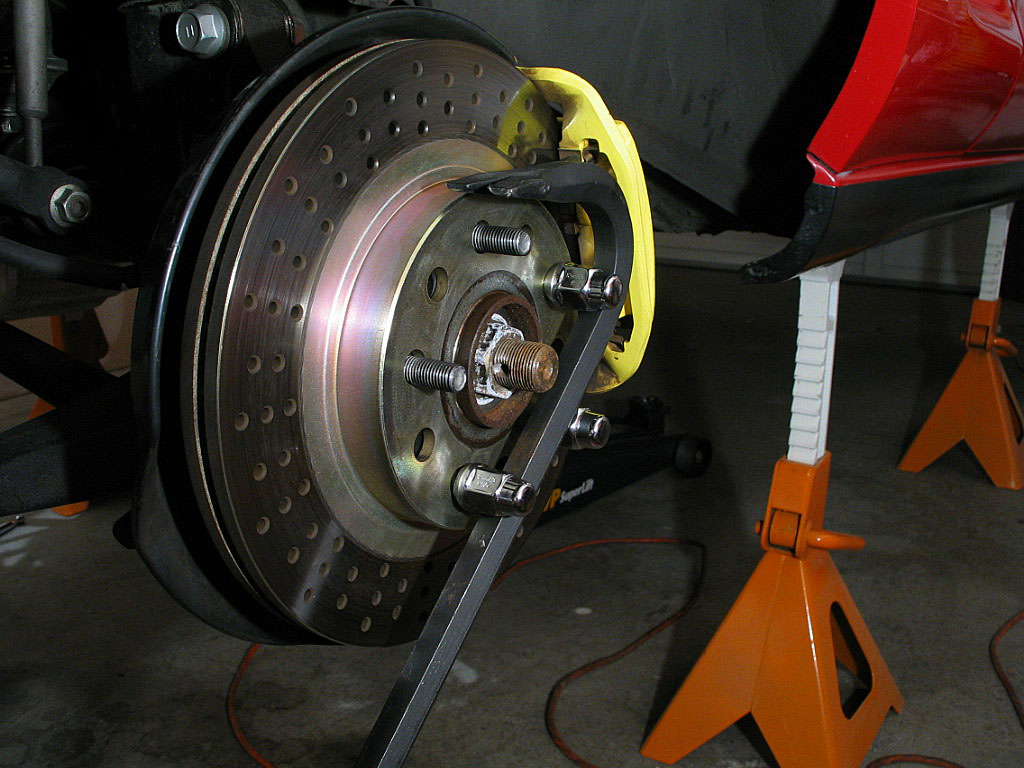
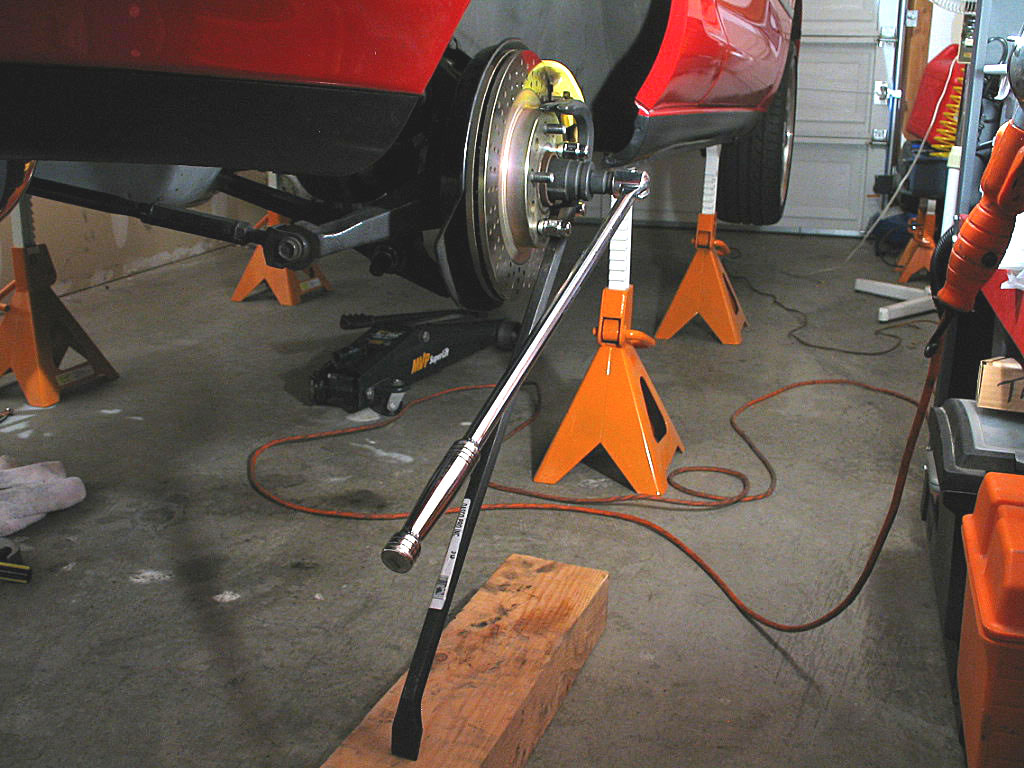
I didn't have any air tools, so I needed a long breaker bar PLUS a long length of iron pipe. I'm always convinced the breaker bar handle will snap, but so far it's survived. Once the nut is loose, you can remove it:
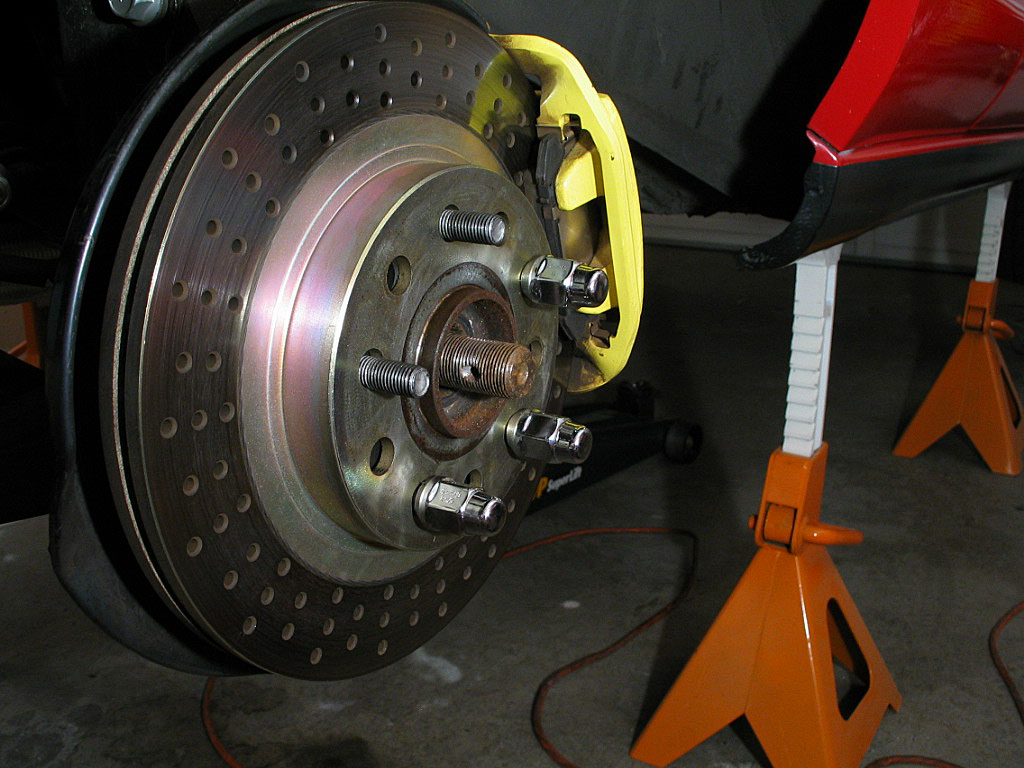
Don't remove them yet, just crack them loose so you can spin them off easily later.
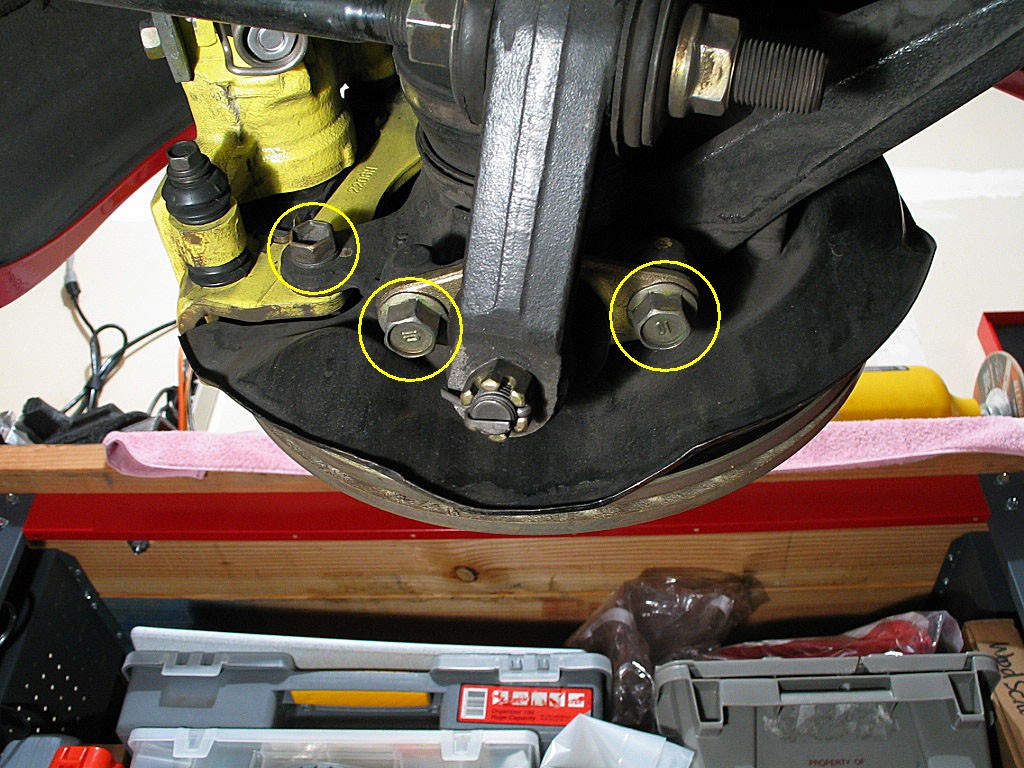
To the left of the ball joint in the photo above, you can see one of the 17mm bolts that secures the brake caliper to the hub. Loosen this bolt, and also the top bolt which is hidden from view in this photo.

To the right of the strut rod bolt is a 10mm bolt that secures a cable retainer for the parking brake cable. Remove the bolt.
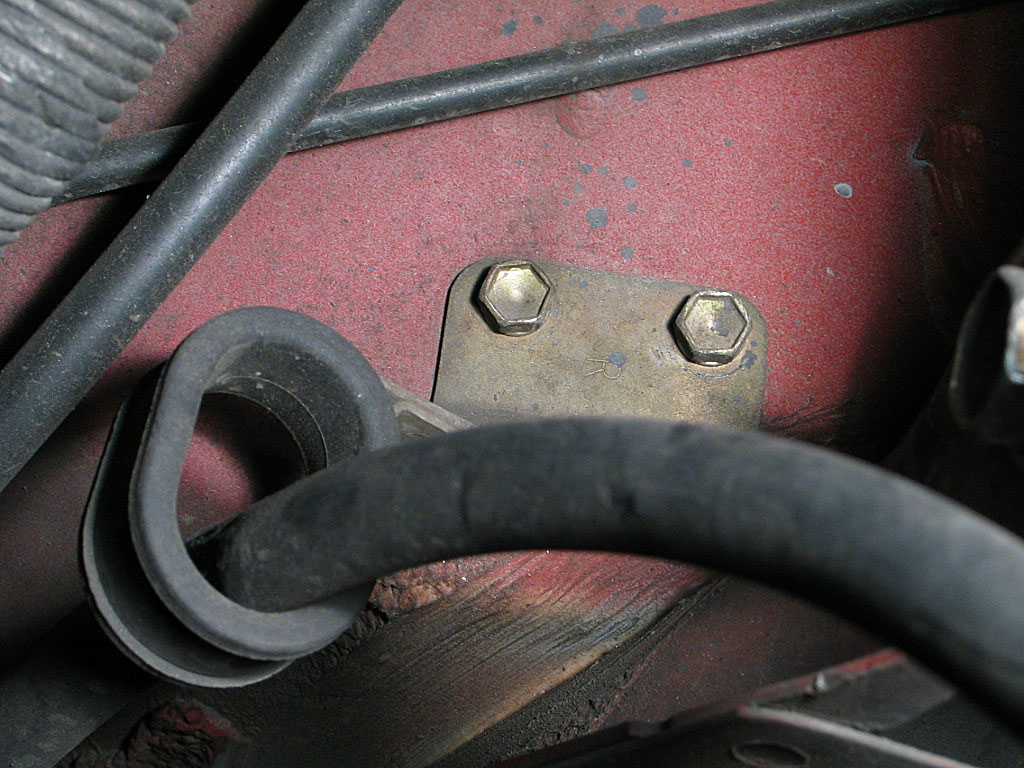
Remove those bolts as well. This provides some slack for the parking brake cable.
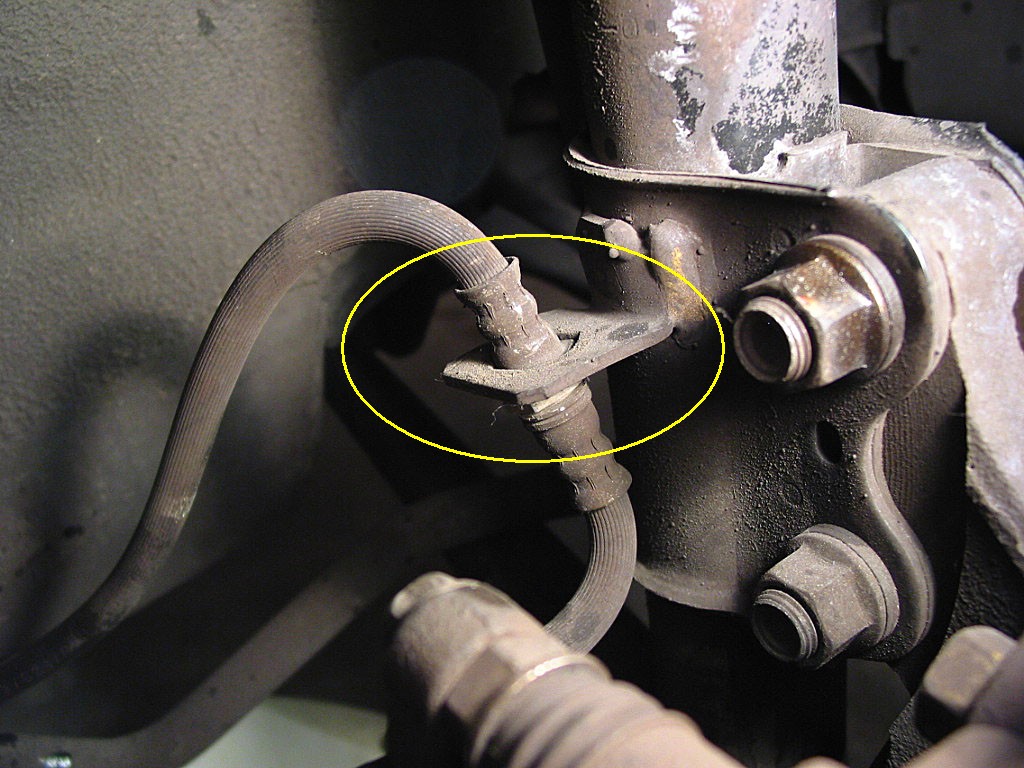
This means that in order to gain slack in the brake line you must disconnect the line, which in turns you must bleed the brakes after reassembly.
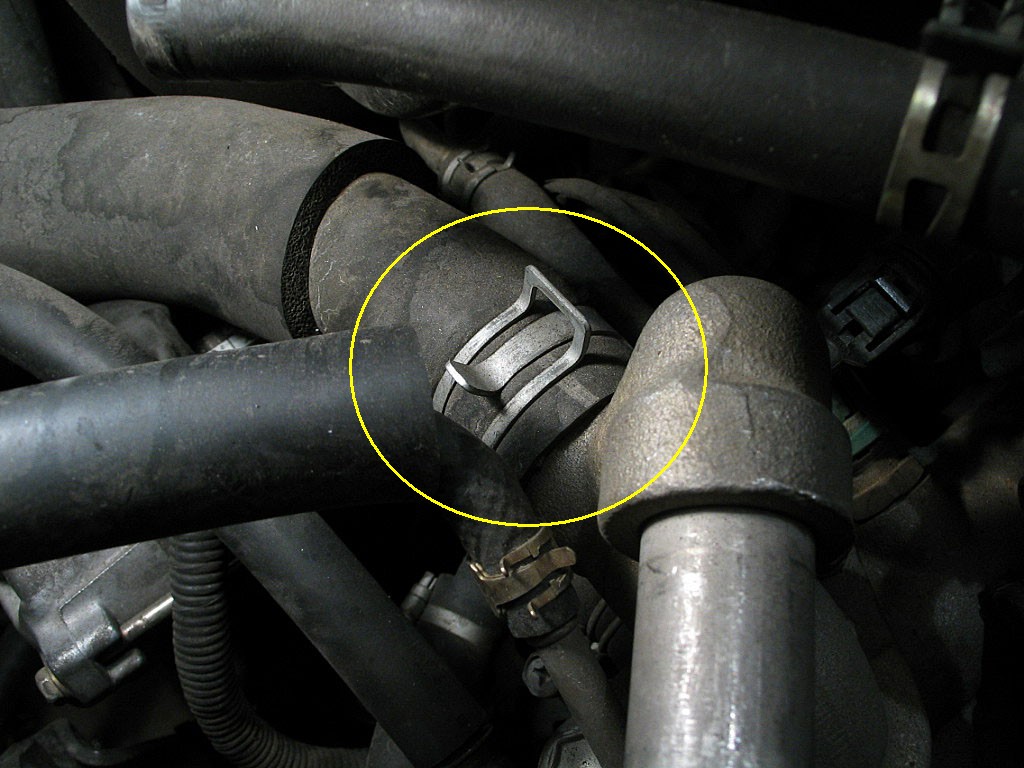
I had previously installed stainless braided brake lines on this car. One of the modifications I made at that time was to cut a notch into this bracket to enable the brake line to be freed from the bracket without having to disconnect the line.
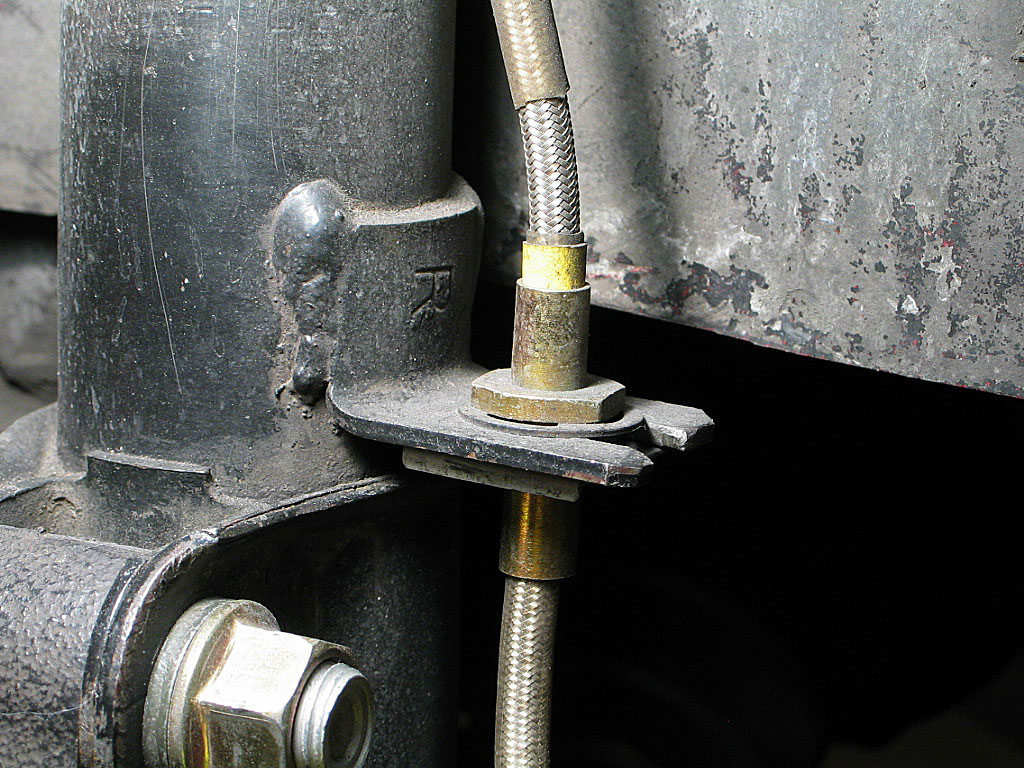
...while a "U" clip snaps in below:
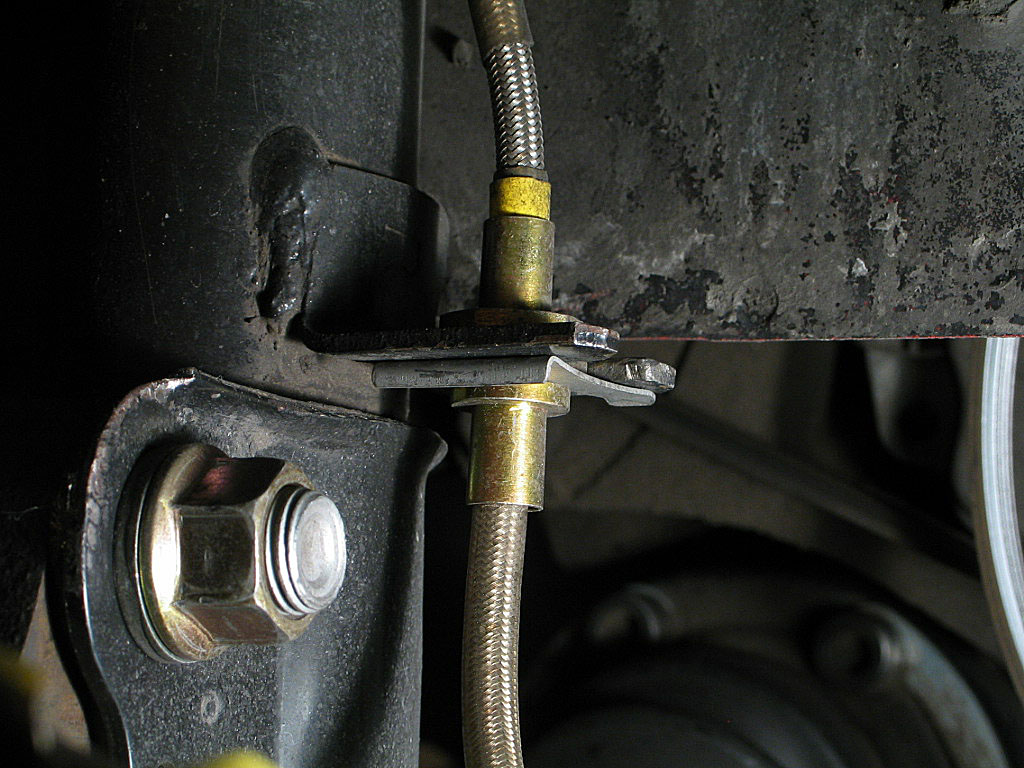
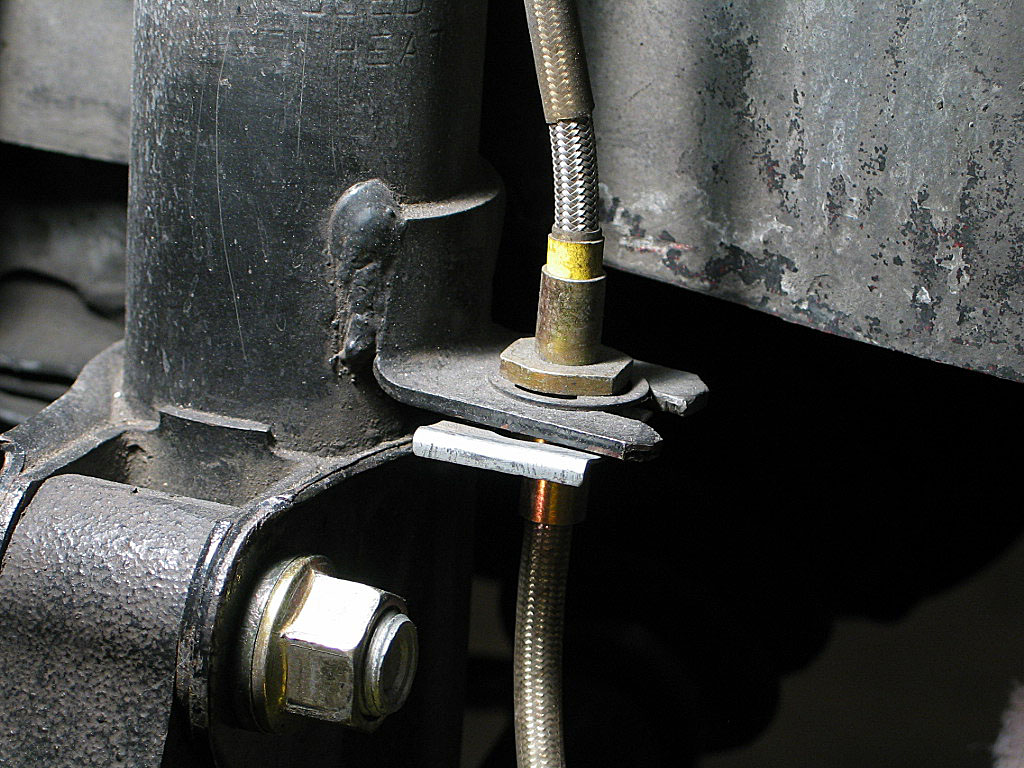
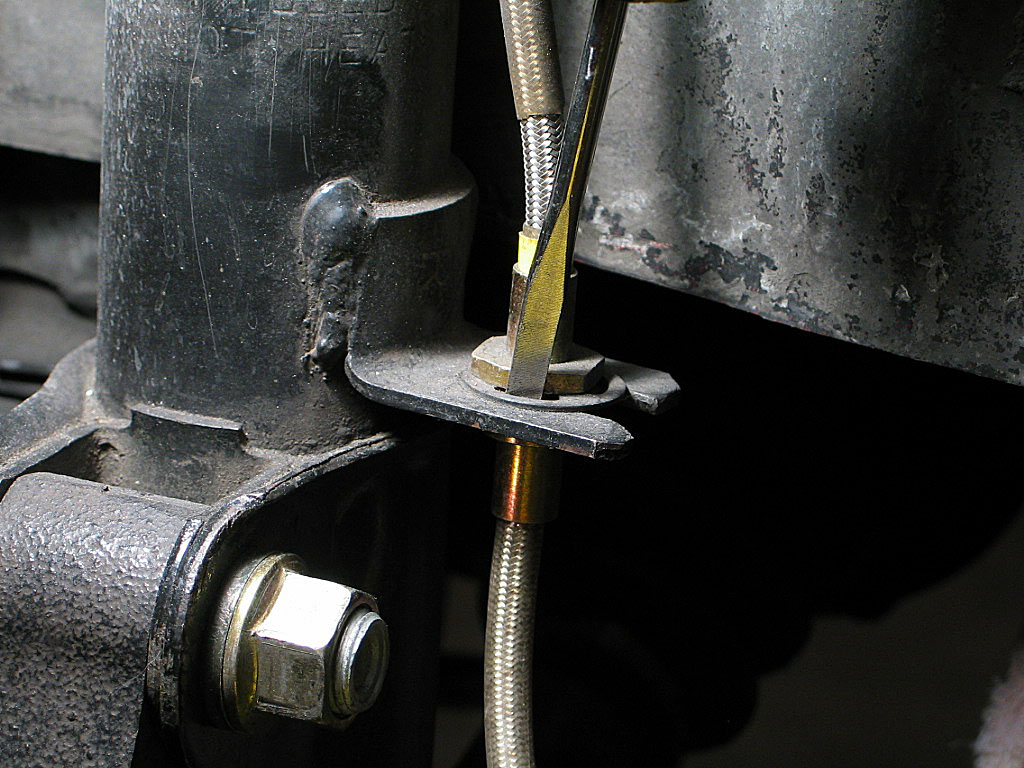
Now the brake line joint can be freed from the bracket.
If your bracket does not have a slot, you will need to disconnect the brake hose to provide enough slack in the cable to remove the caliper.
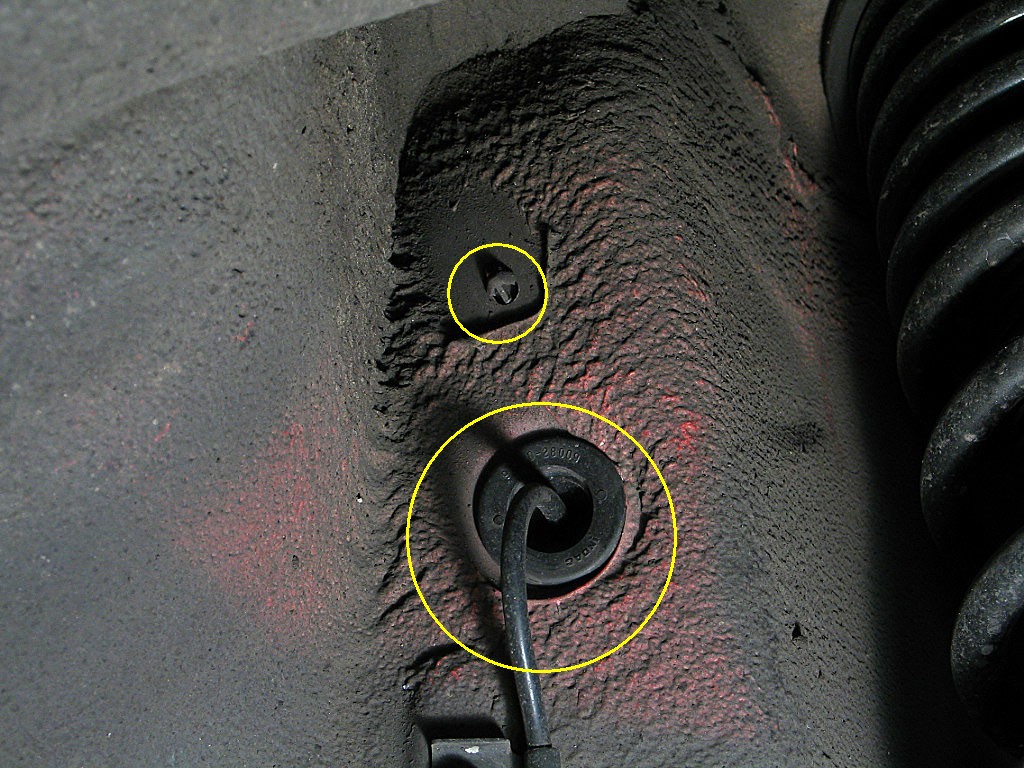
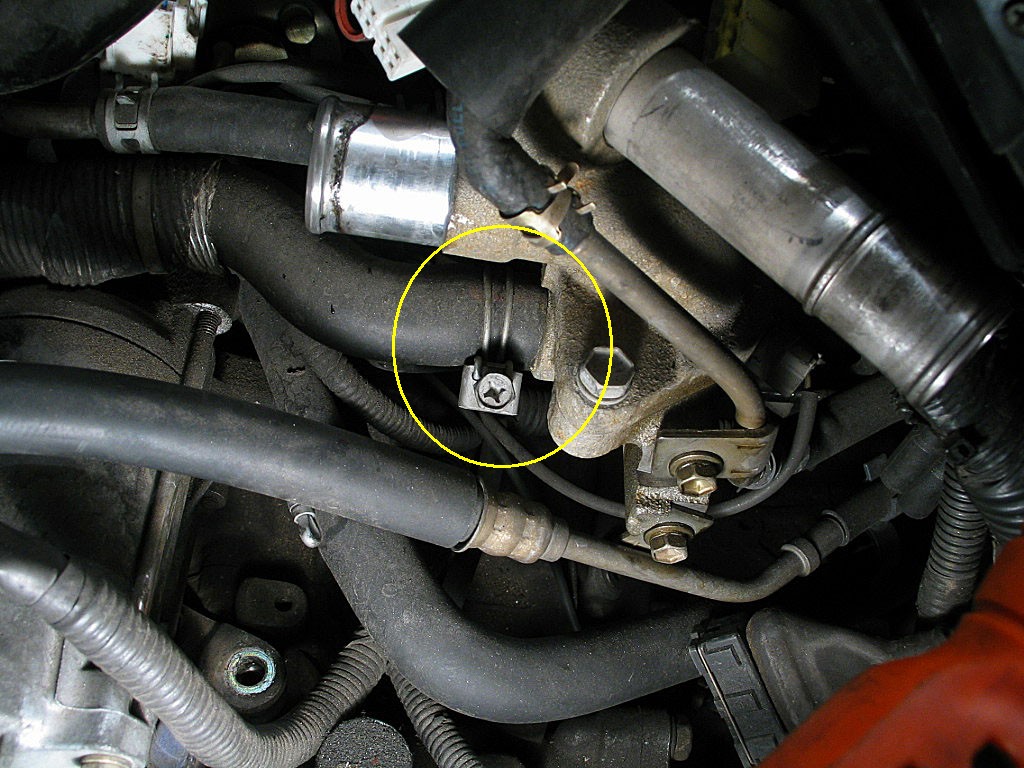
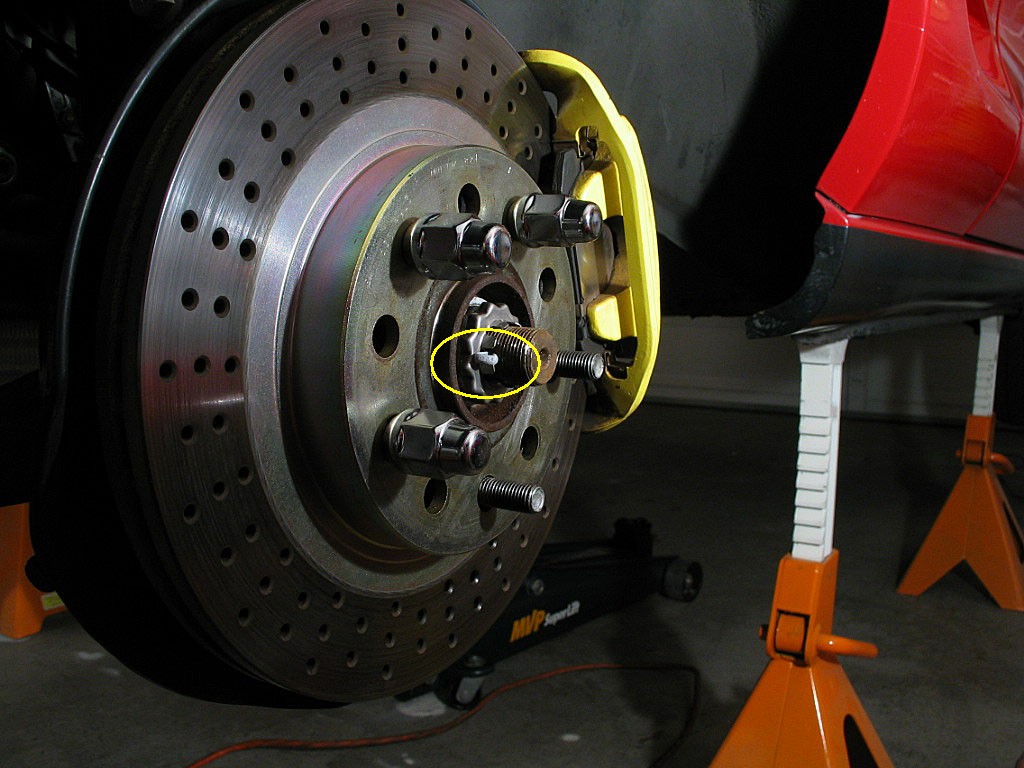
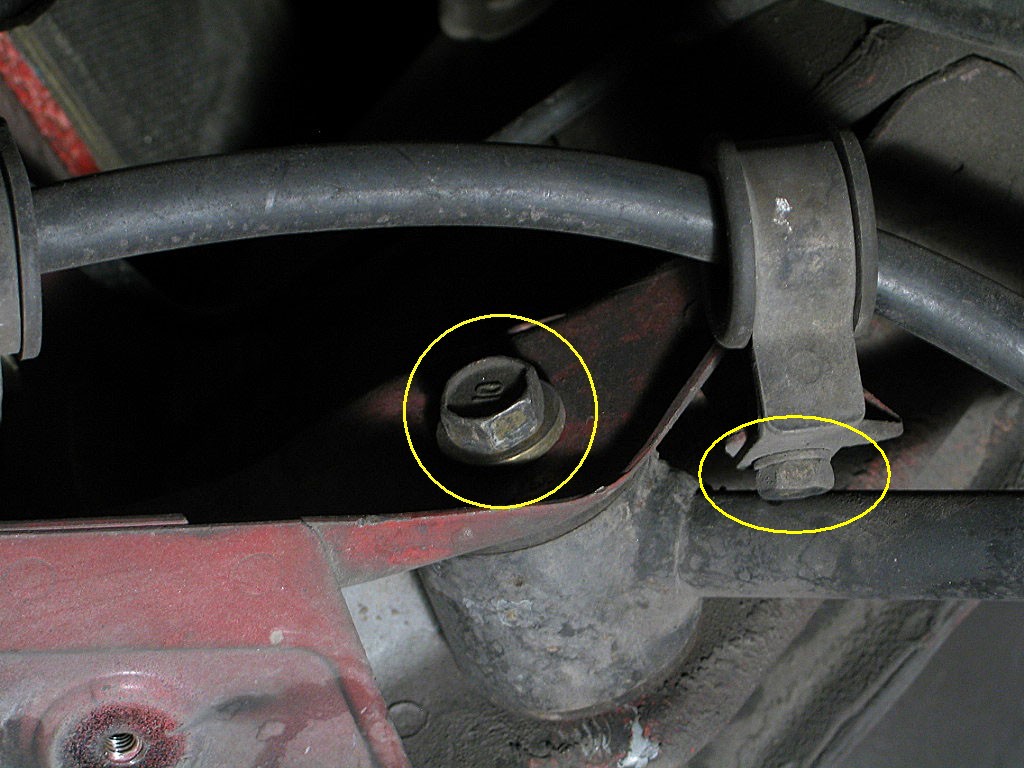
In the smaller circle is the backside of the cable retainer. Squeeze the tabs together to free the retainer, and push the retainer through the hole to the engine compartment.
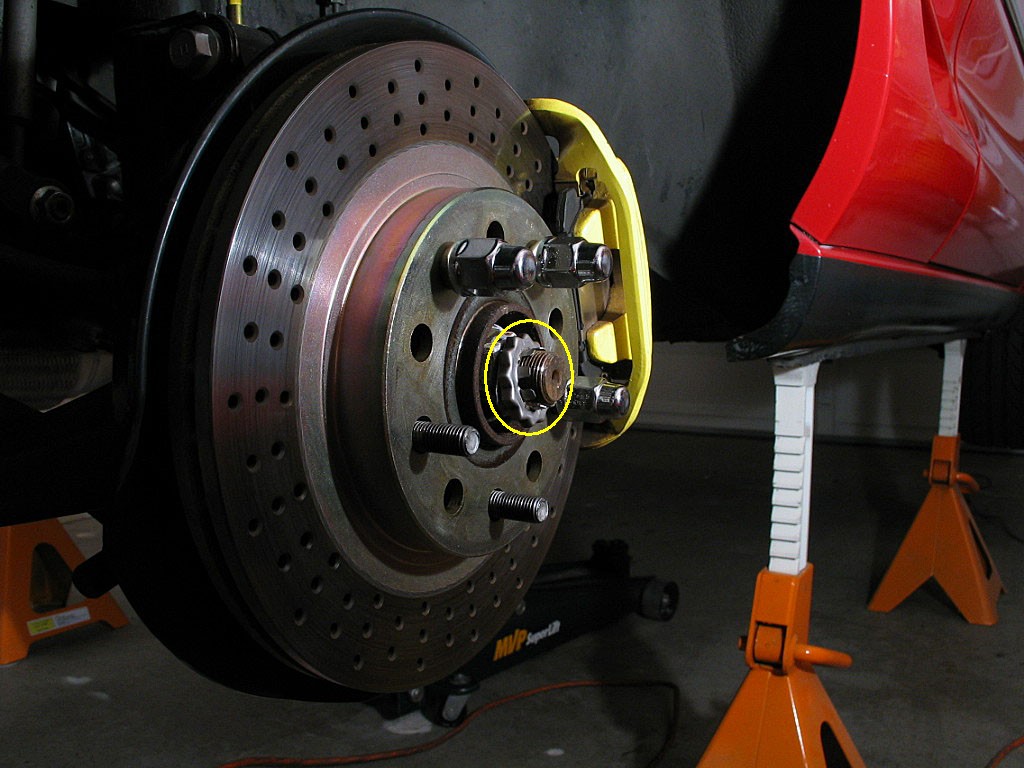
Using a small flat-bladed screwdriver, pry the grommet towards you, until you can pull the grommet, with its cable, through the hole. Keep this cable out of harms way by tying it to the hub.