06 November, 2004
UNDER CONSTRUCTION
Removing the 3SGTE Radiator
Get the car up on jack stands. You'll need space to work, and the radiator is about 16" high, and it comes out the bottom.
The process to drain the coolant tubes is described here, as part of the engine removal process. Again, if your goal is simply to remove the radiator, this is not absolutely necessary, but recommended.
Open the front hood, and remove the plastic cover panel. In theory, this is removed by unscrewing the plastic Phillips-head fasteners that secure the panel to the body. Even on my car, which has lived its entire life in San Diego and Las Vegas, this was impossible. Another fastener challenge by the Toyota engineers.
I ended up ripping all the fasteners out by force. Perhaps there is a trick to this, but I simply ordered replacements from Toyota, at about 50� each.
(Photos go here)

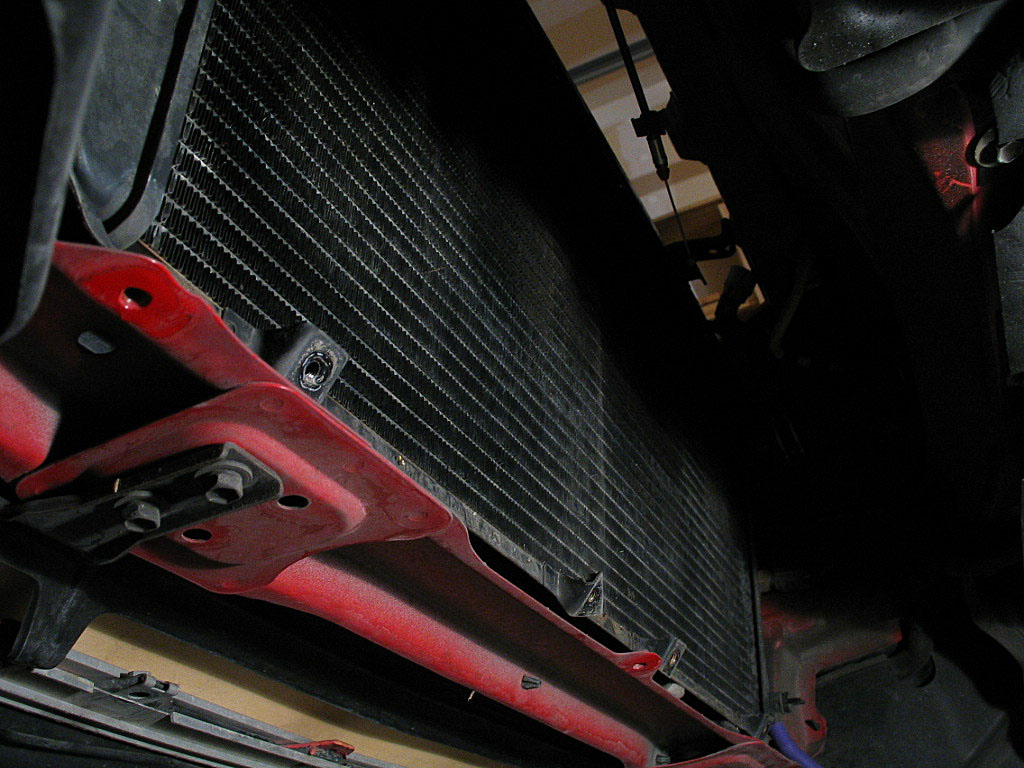
In fact, there are actually two cooling cores here. The A/C condenser sits in front of the radiator, so that's actually what you see when looking through the grill.
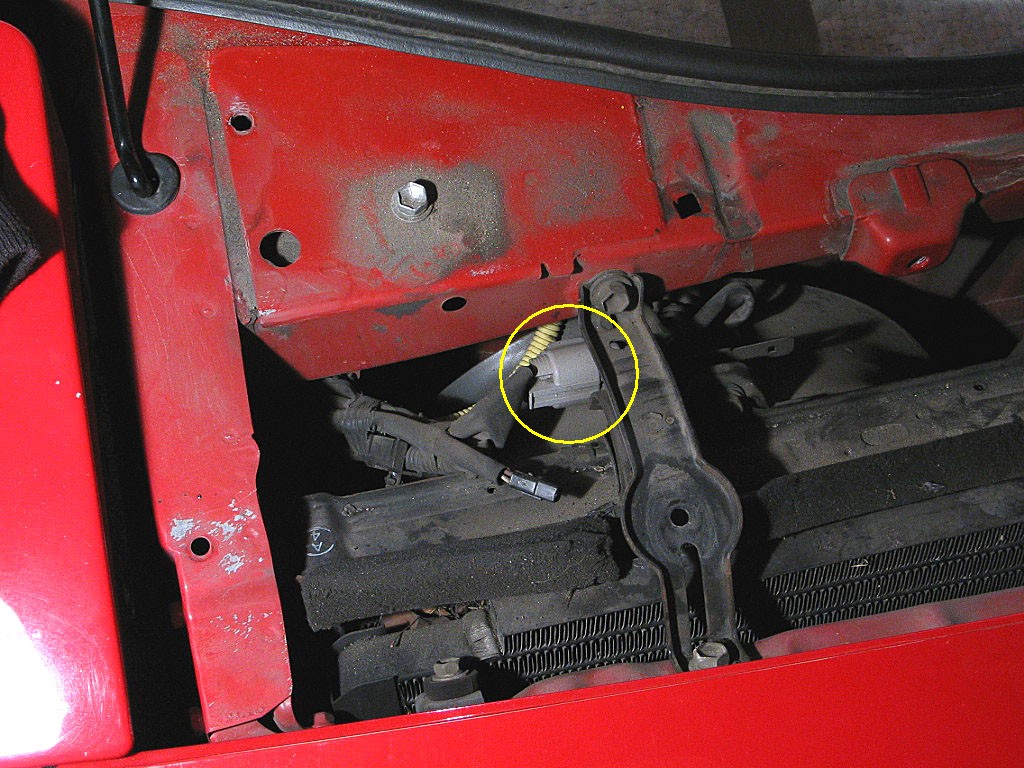
With a small flat-bladed screwdriver, pry up the small locking tab on the connector, as shown below:
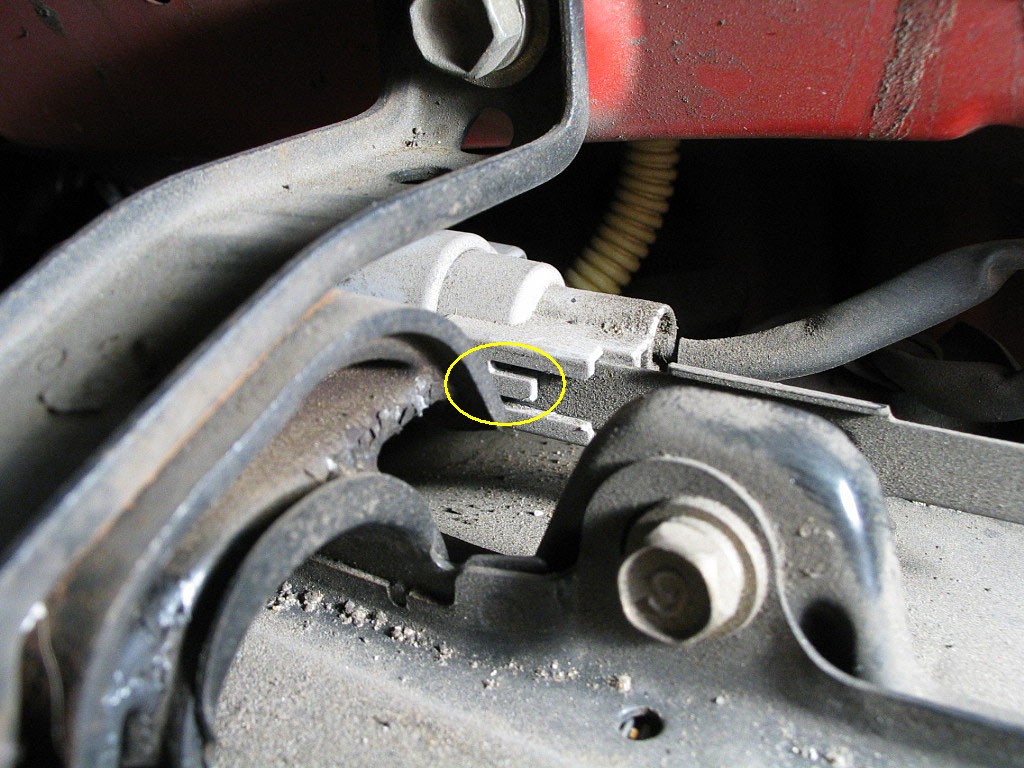
While the tab is pried up, slide the connector off the flange.
Press in on the locking tab, pressing it against the housing, to unlock the connector:
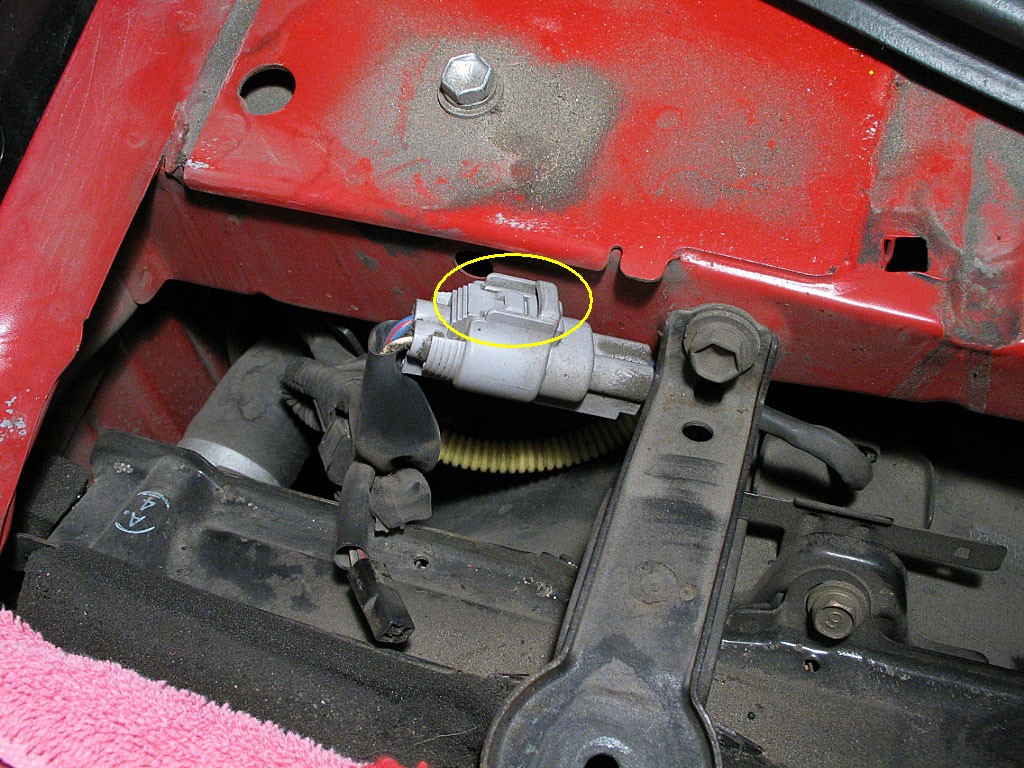
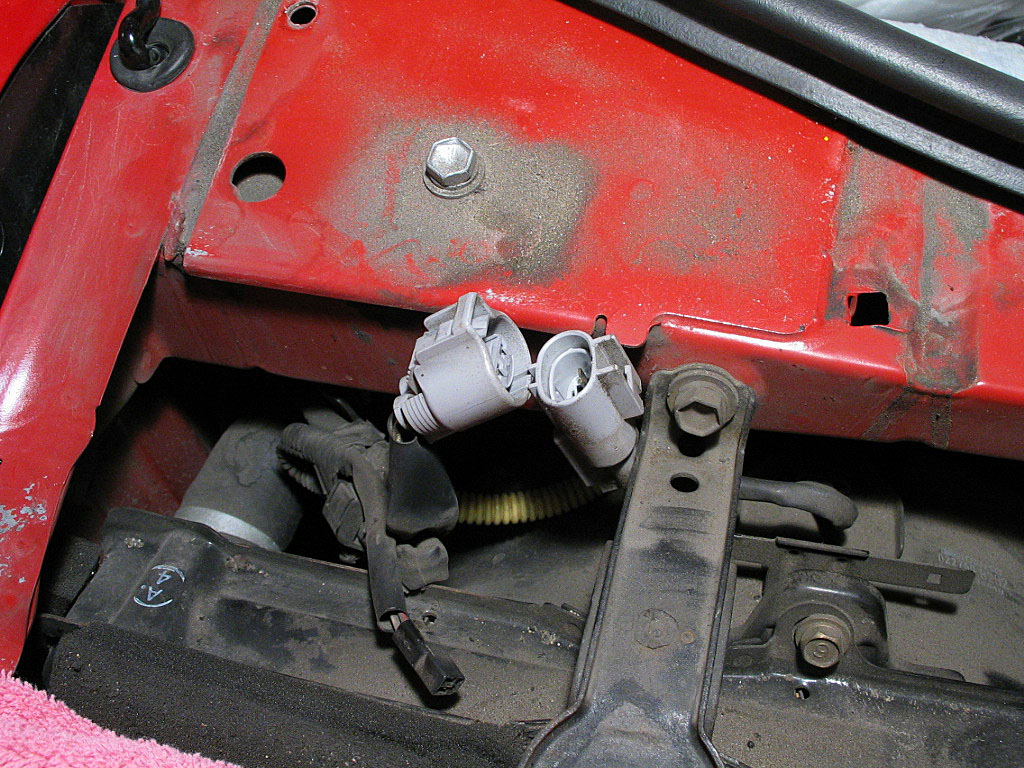
Repeat with the other fan connector.
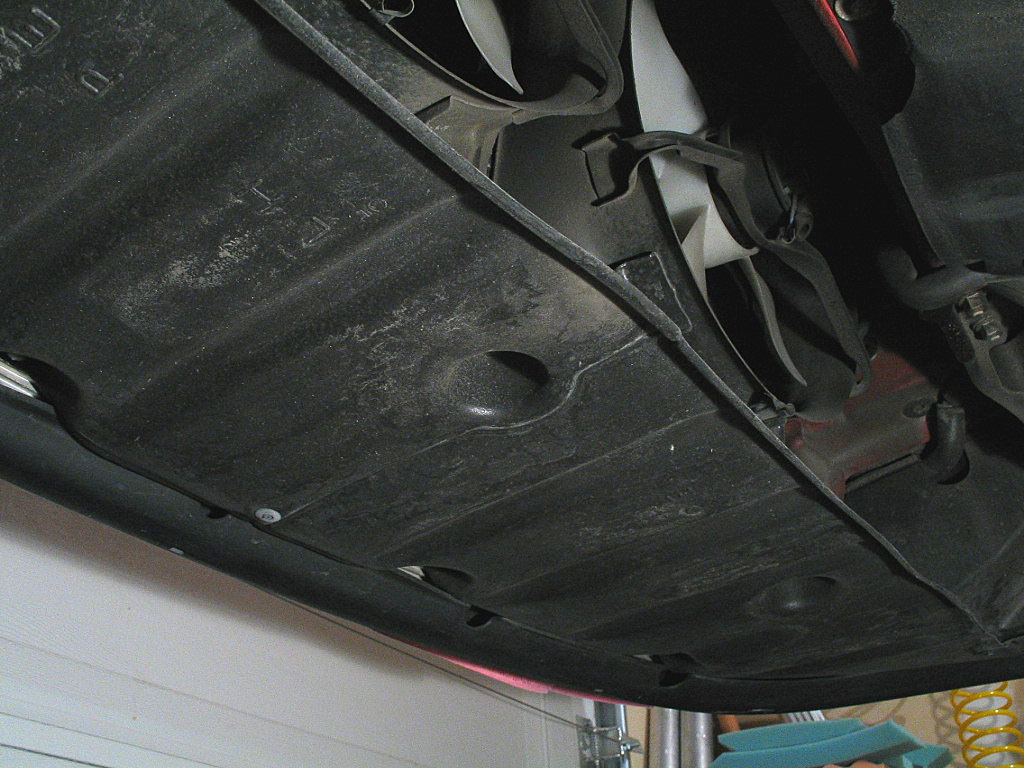
There is a total of 11 bolts securing this tray. Four of them are hex-head sheet metal screws, and the rest are hex-head machine screws. All of them have 10mm heads.
Remove the bolts, taking care to keep the tray supported until all of the bolts are free, otherwise you are likely to cause some damage.
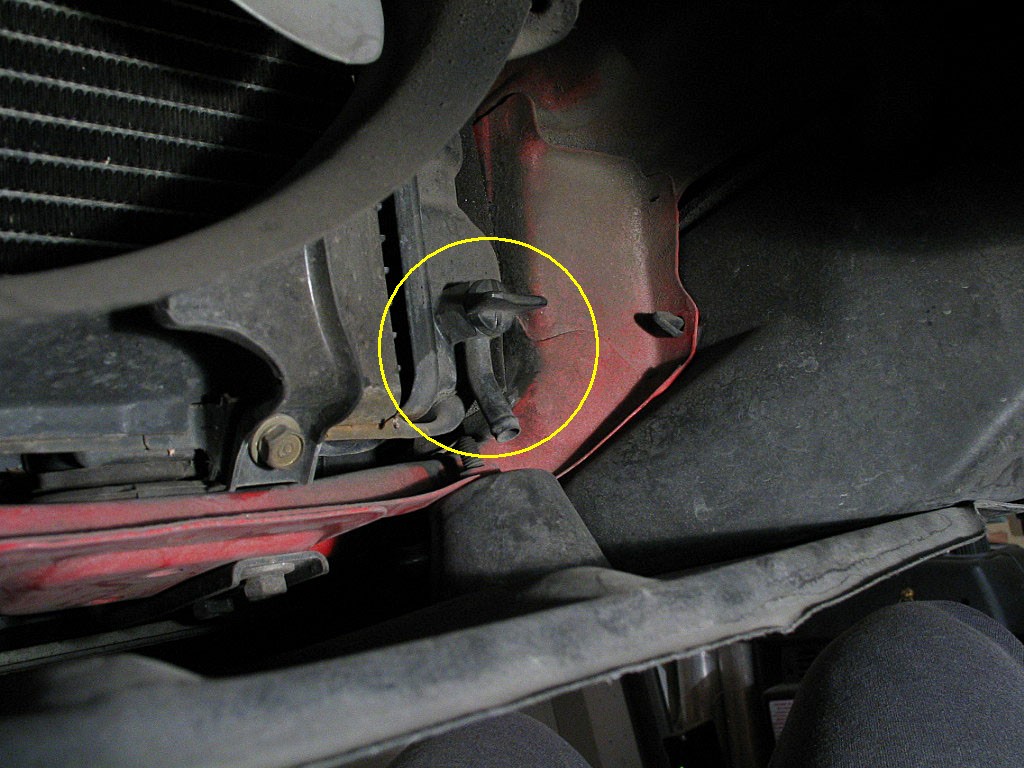
Stick a length of hose on the nipple, and drain the remaining coolant out. Then close the valve and remove the hose.

Remove both 12mm bolts.
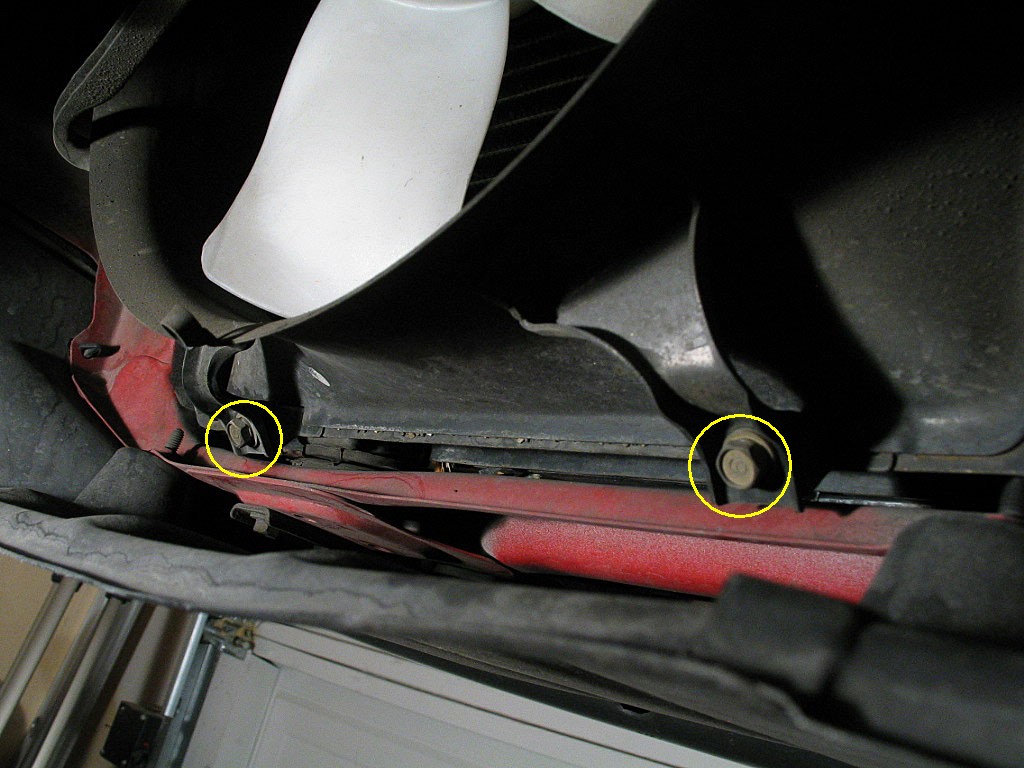
As you remove each pair of bolts, ease the fan assembly down, being careful not to damage the fins on the radiator.